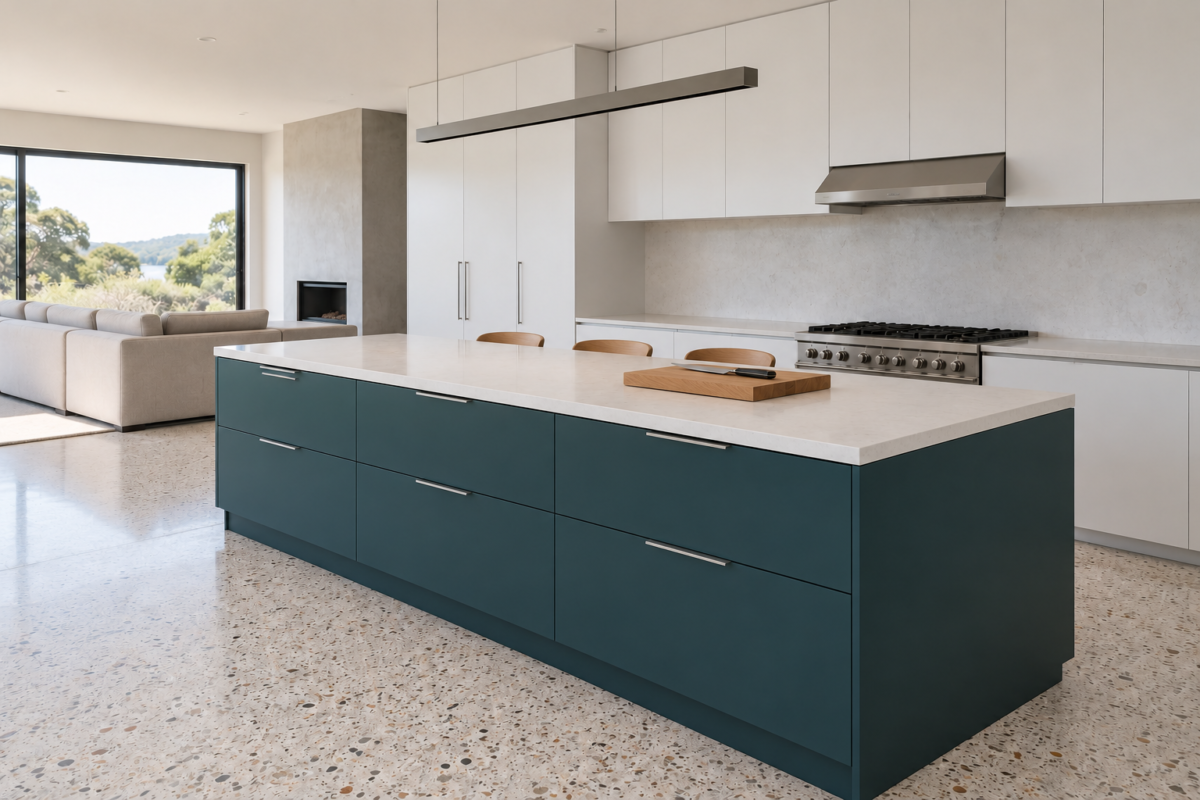
An island is the one counter in a kitchen with people on both sides of it. Someone chops on one side while someone else does homework on the other, and the cabinet underneath is the nearest storage to both of them. That’s three jobs for a piece of furniture often no bigger than 3 feet by 6.
Few islands do all three equally well, and it helps to know which one matters most before choosing fittings. The ideas below follow that order. They start with the island as a place to cook, then as a place to sit, then as storage, and end with its shape and finish. All of them assume the island fits the room. The aisles around it come first, and 42 inches on the working sides is the usual figure.
Put a Prep Sink in the Island
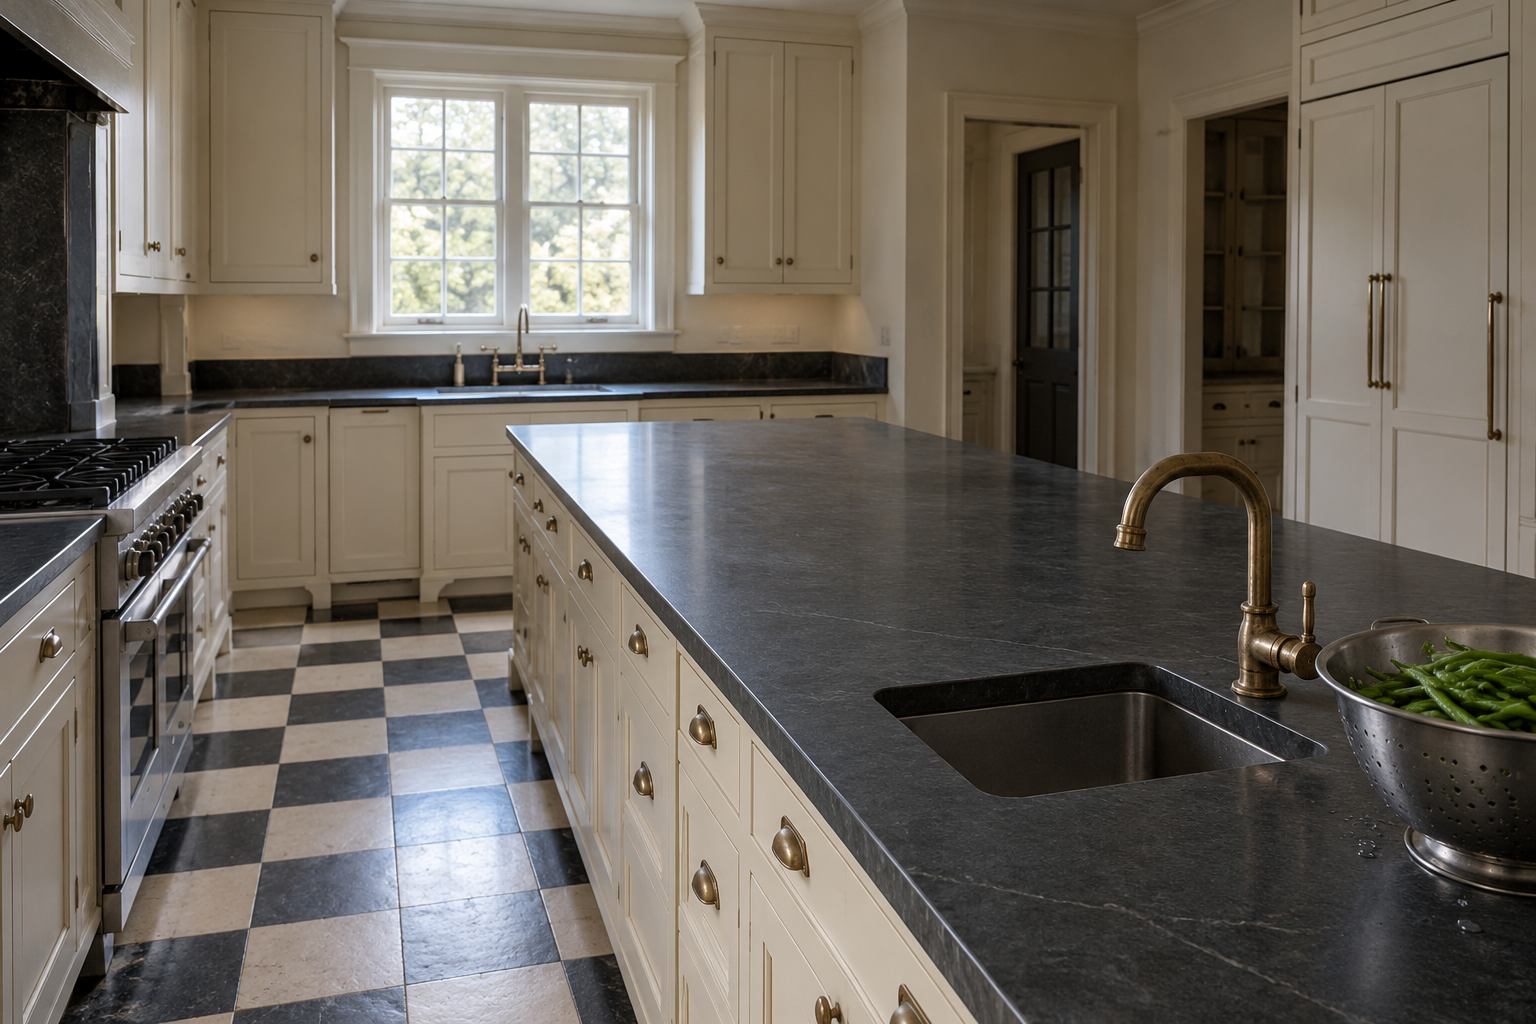
A second, smaller sink in the island lets the cook wash vegetables facing the room, with the main sink left for dishes. It needs a drain and supply lines run under the floor. That’s simple over a basement and expensive in a concrete slab, so ask a plumber early.
Set the sink toward one end. In the middle it cuts the counter into two short pieces, and a long clear stretch is what makes an island good to work at.
Leave the Top With Nothing in It
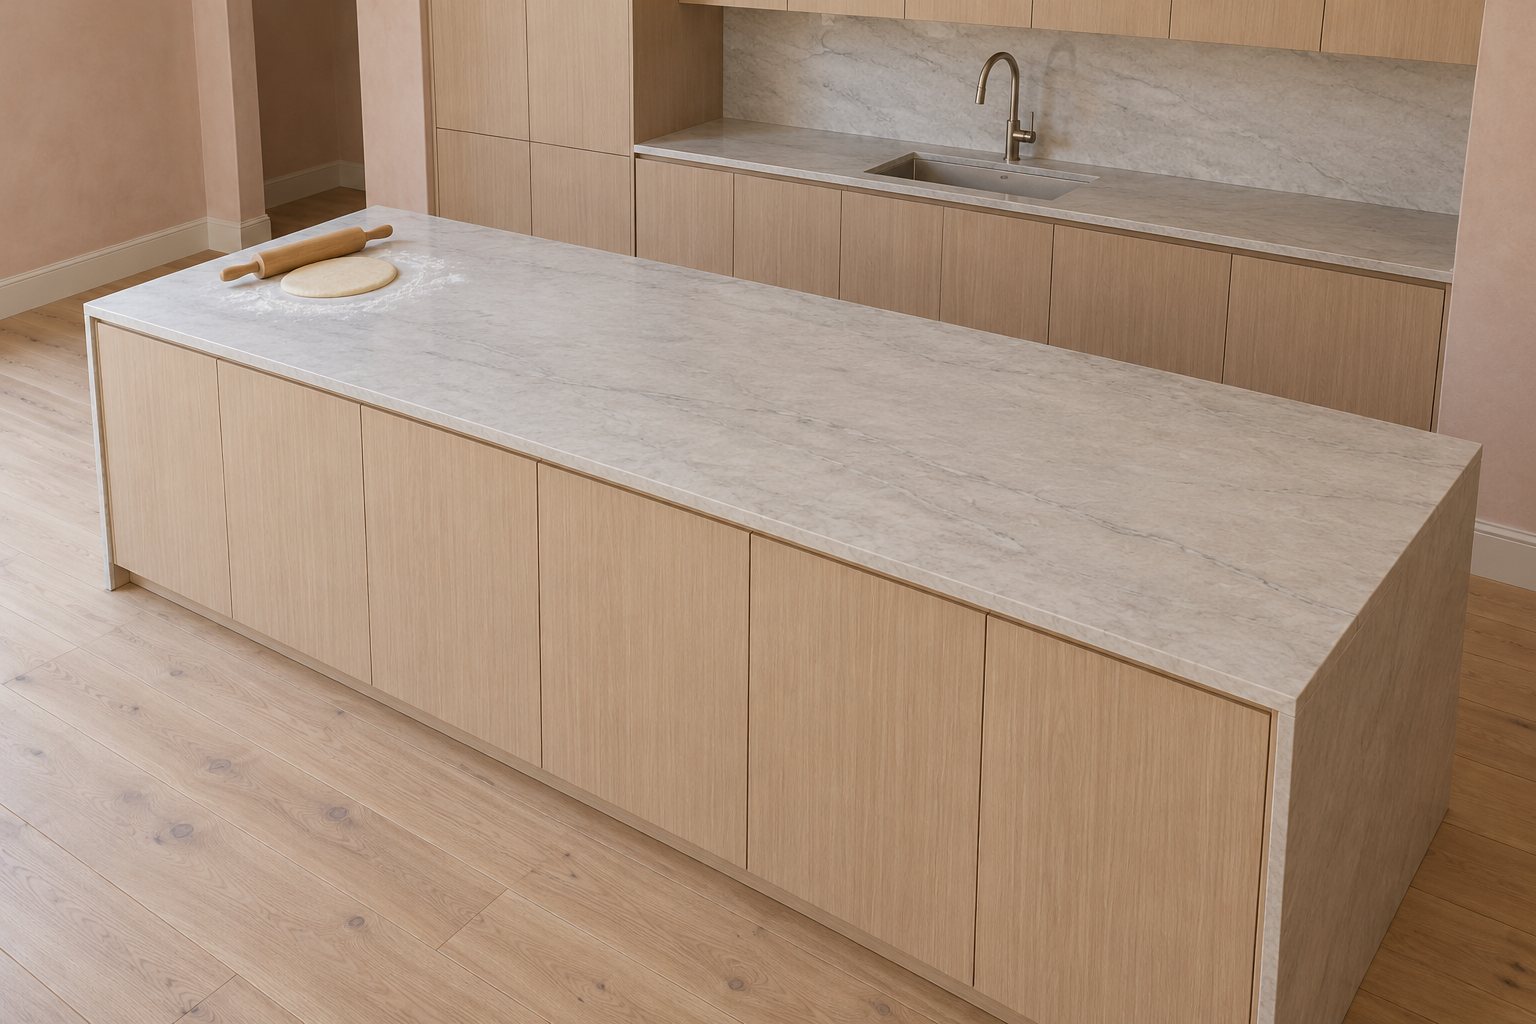
The opposite choice has as much going for it. An island with no sink, no cooktop, and no raised ledge is one flat surface from end to end. Pastry gets rolled out on it at four o’clock and dinner is served from it at seven. It’s also the least expensive island to build, since nothing is plumbed through the floor.
Cook at the Island, With a Plan for the Steam
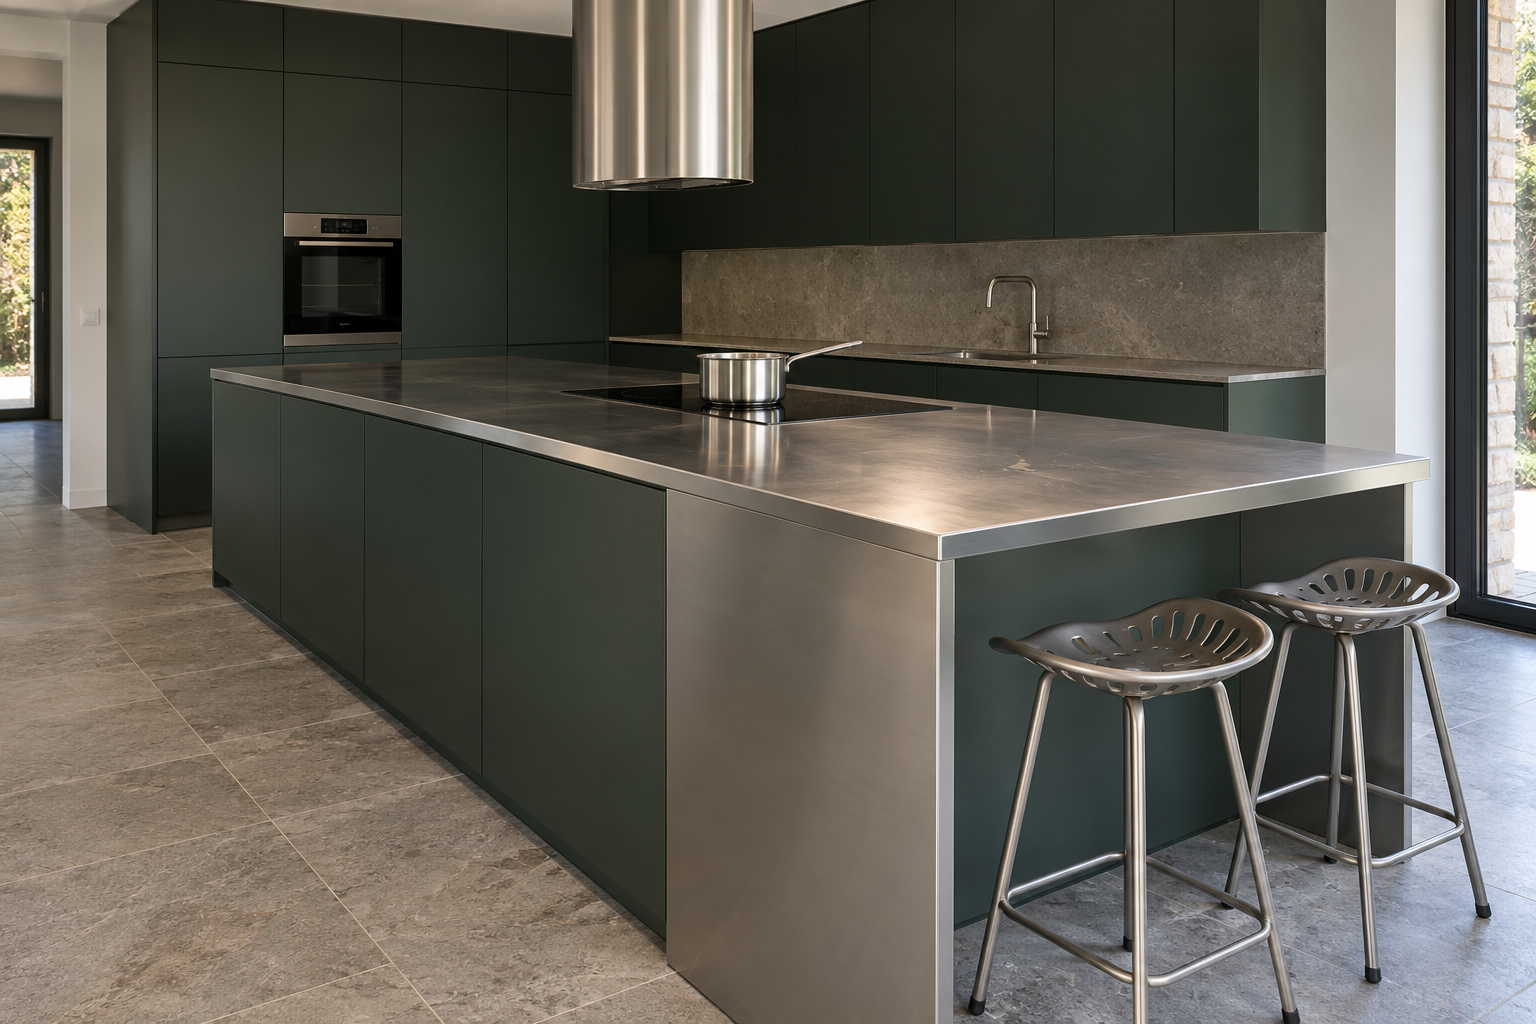
A cooktop in the island turns the cook to face the room. It also puts steam, grease, and hot pans in the middle of the kitchen with no wall behind them. The steam needs a hood hung from the ceiling or a vent that draws downward at the counter, and either one is settled with the installer before the cabinets are ordered.
Stools belong on a different side from the burners, or behind a counter deep enough to keep pan handles out of reach of anyone seated.
Fit a Chopping Block at One End
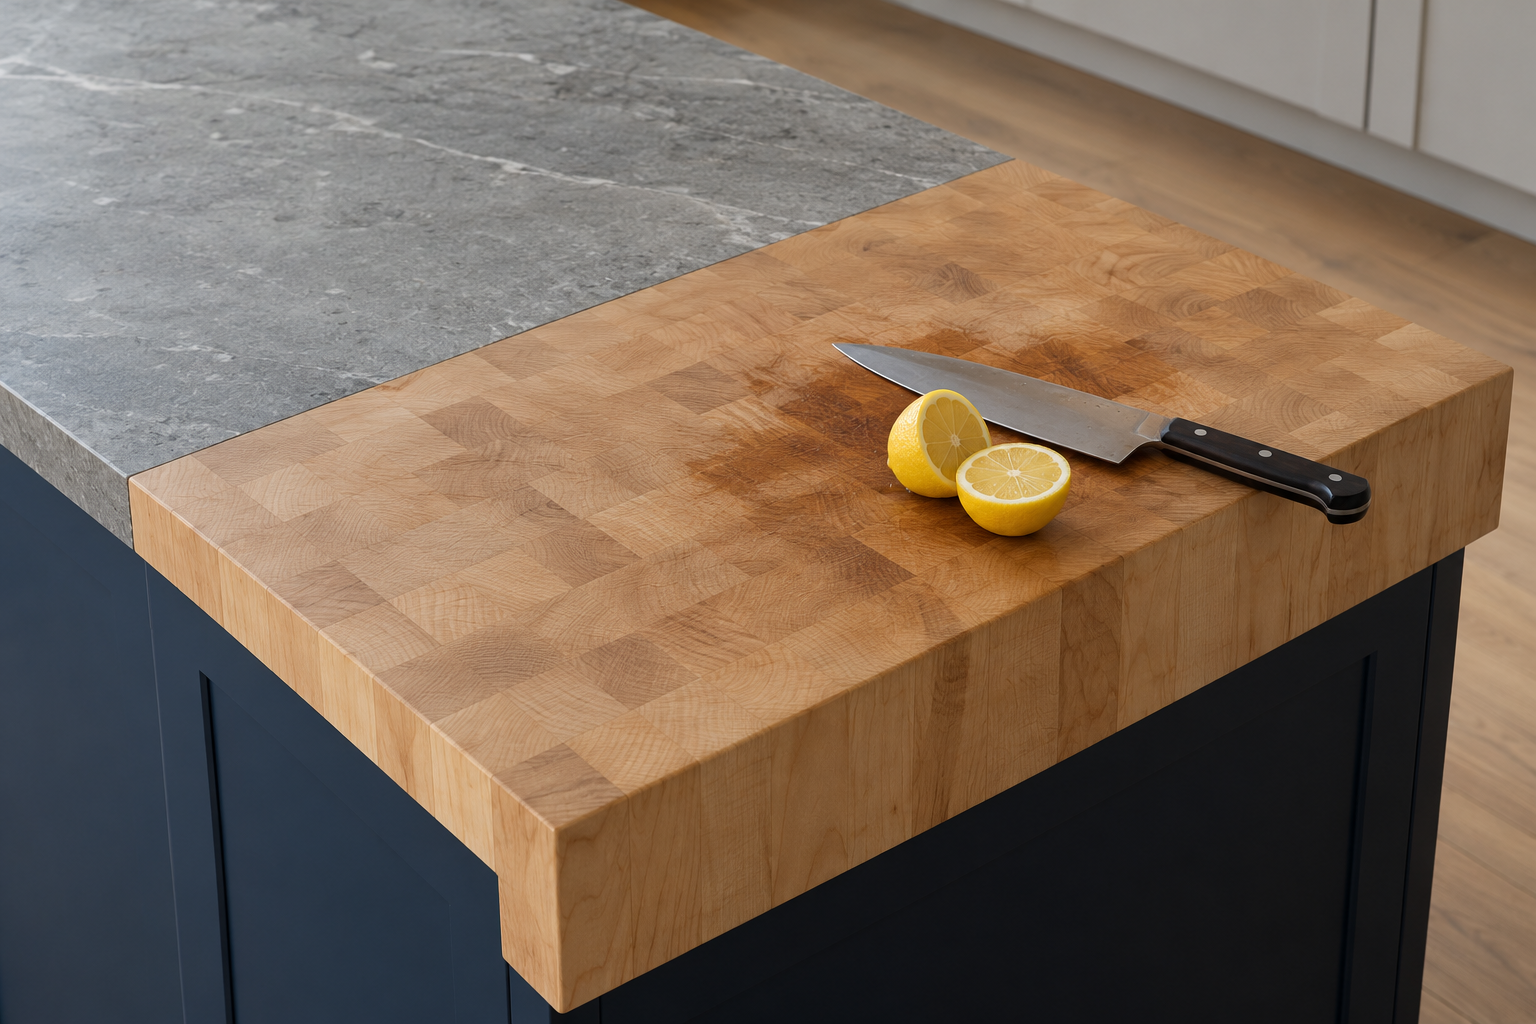
Stone is hard on knife edges and loud under a chopping board. A block of maple or oak set into one end of the island, level with the stone, gives a place to cut directly on the counter. Wood needs oiling and shows its use, which some cooks like and others find a chore. Keep the block at the end away from the sink so it isn’t standing in water.
Raise a Ledge on the Living Room Side
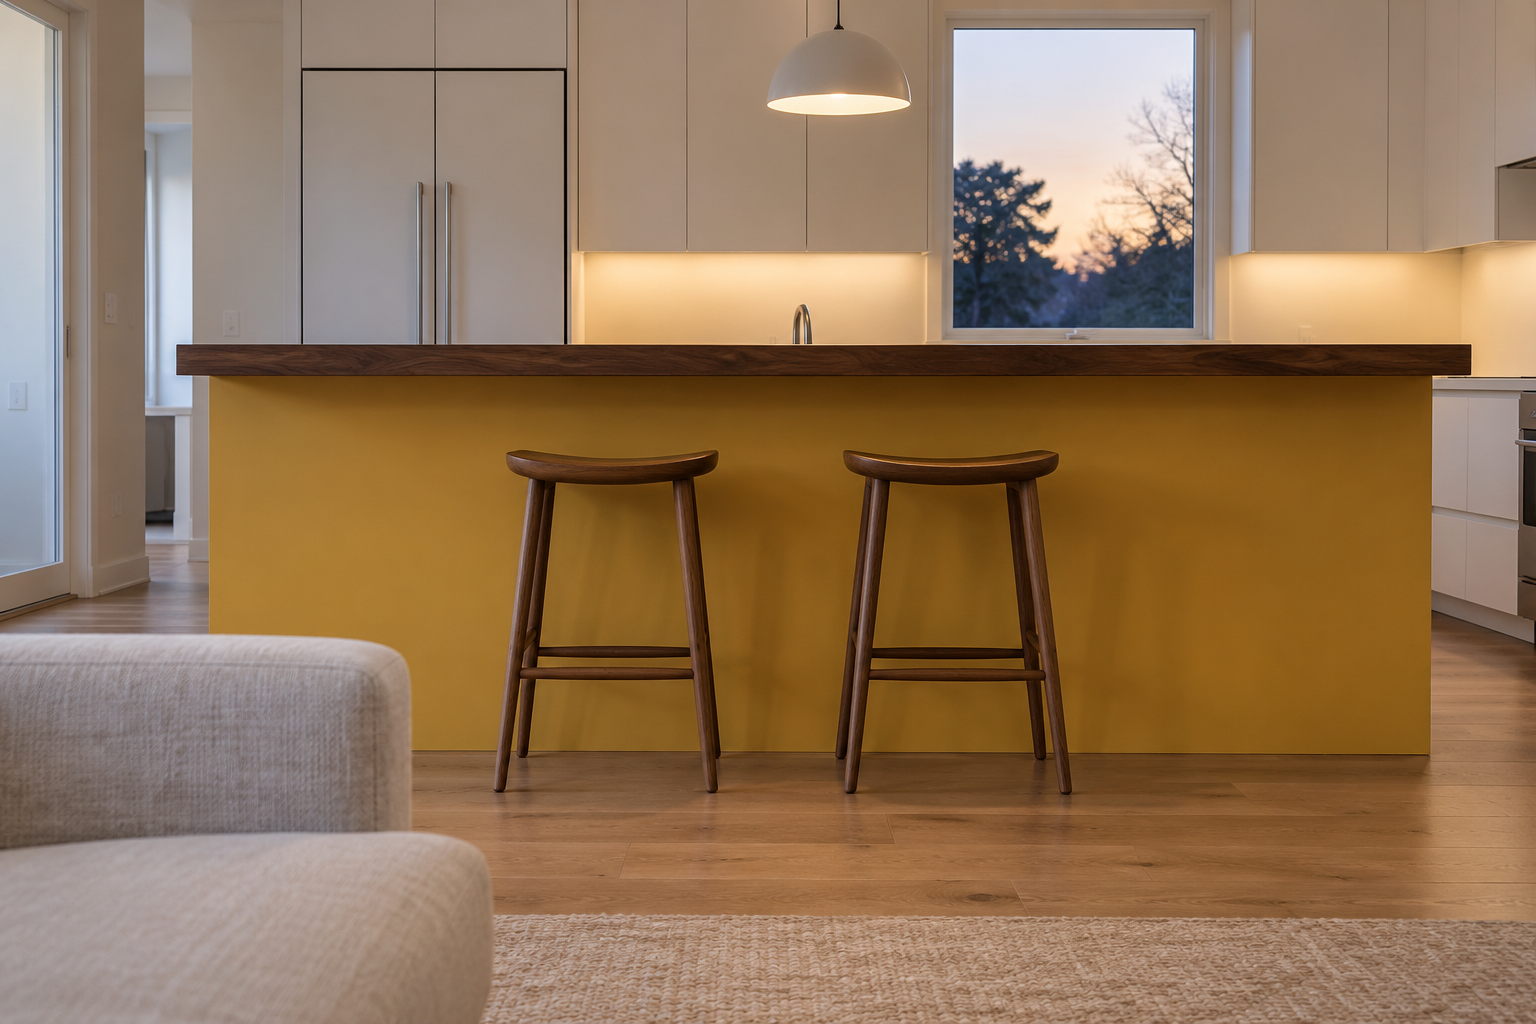
In a kitchen open to the living room, the island is in view from the sofa, along with whatever is on it. A ledge about 6 inches higher than the counter, running along the back edge at 42 inches from the floor, screens the sink and the dishes from anyone sitting down.
It costs the single flat top. The ledge is too narrow to work on, and it takes bar stools, which are taller than the ones a 36 inch counter uses.
Plan the Outlets Before the Stone Is Cut
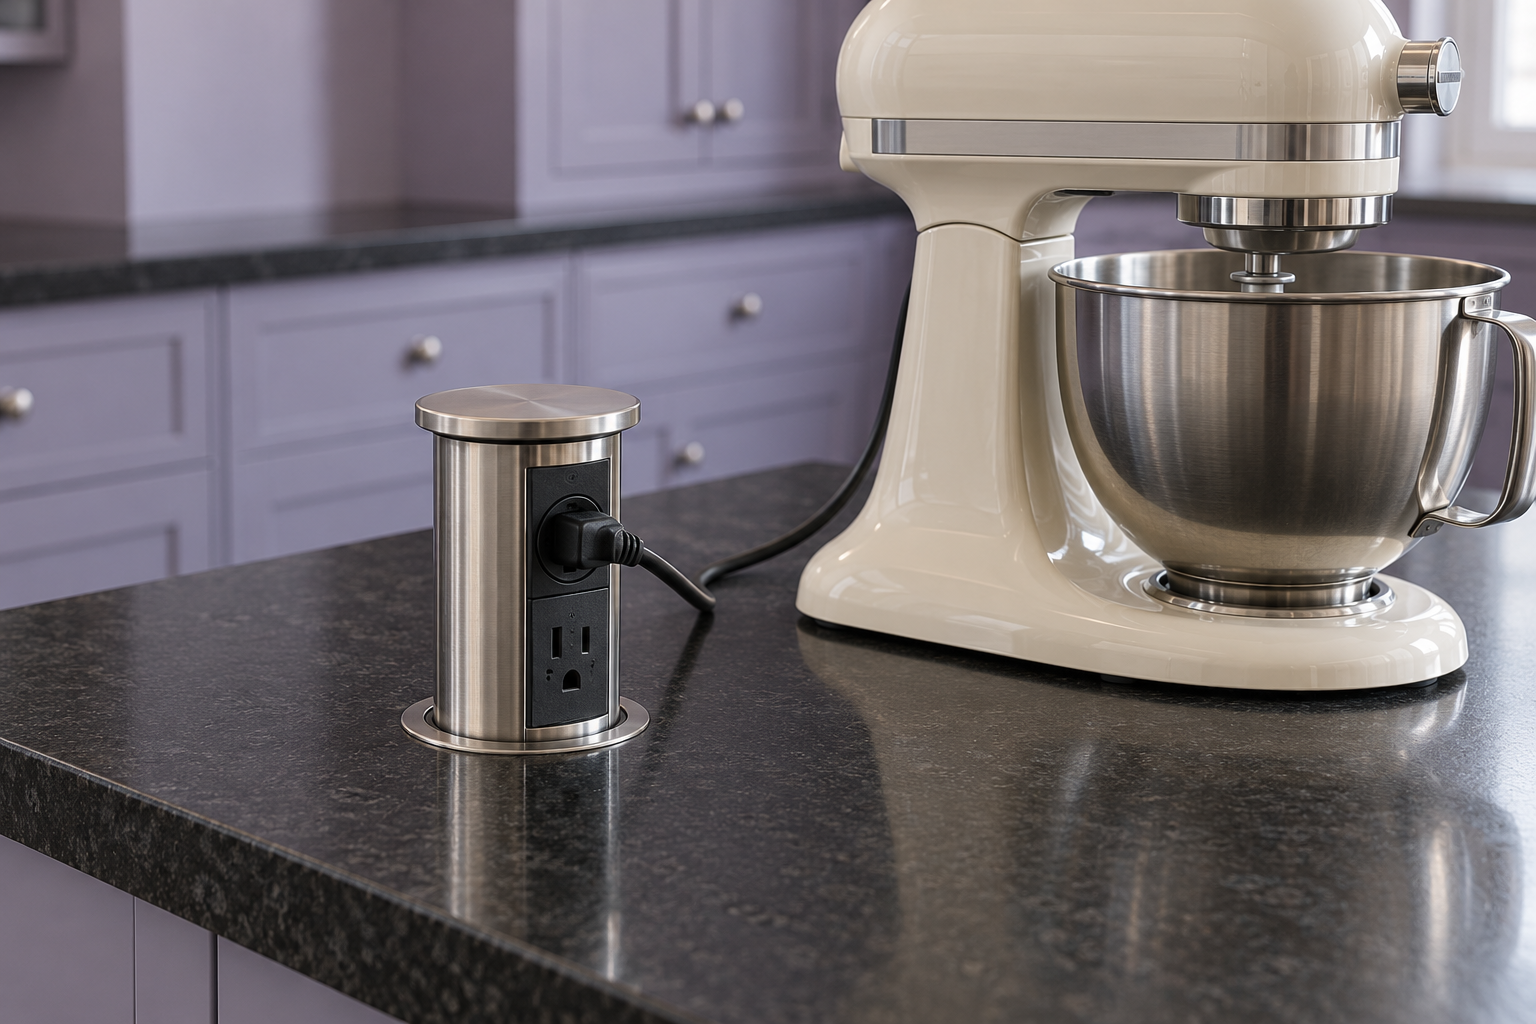
A mixer, a laptop, and a phone charger all end up on the island, and it has no wall to put an outlet in. One answer is an outlet that rises out of the countertop and sits flush when it’s closed, which means a hole cut in the stone. Electrical codes say where island outlets may go, and recent editions restrict outlets on the sides of the cabinet below the counter. The electrician picks the location, and the time to ask is before the top is made.
Let the Stools Slide All the Way Under
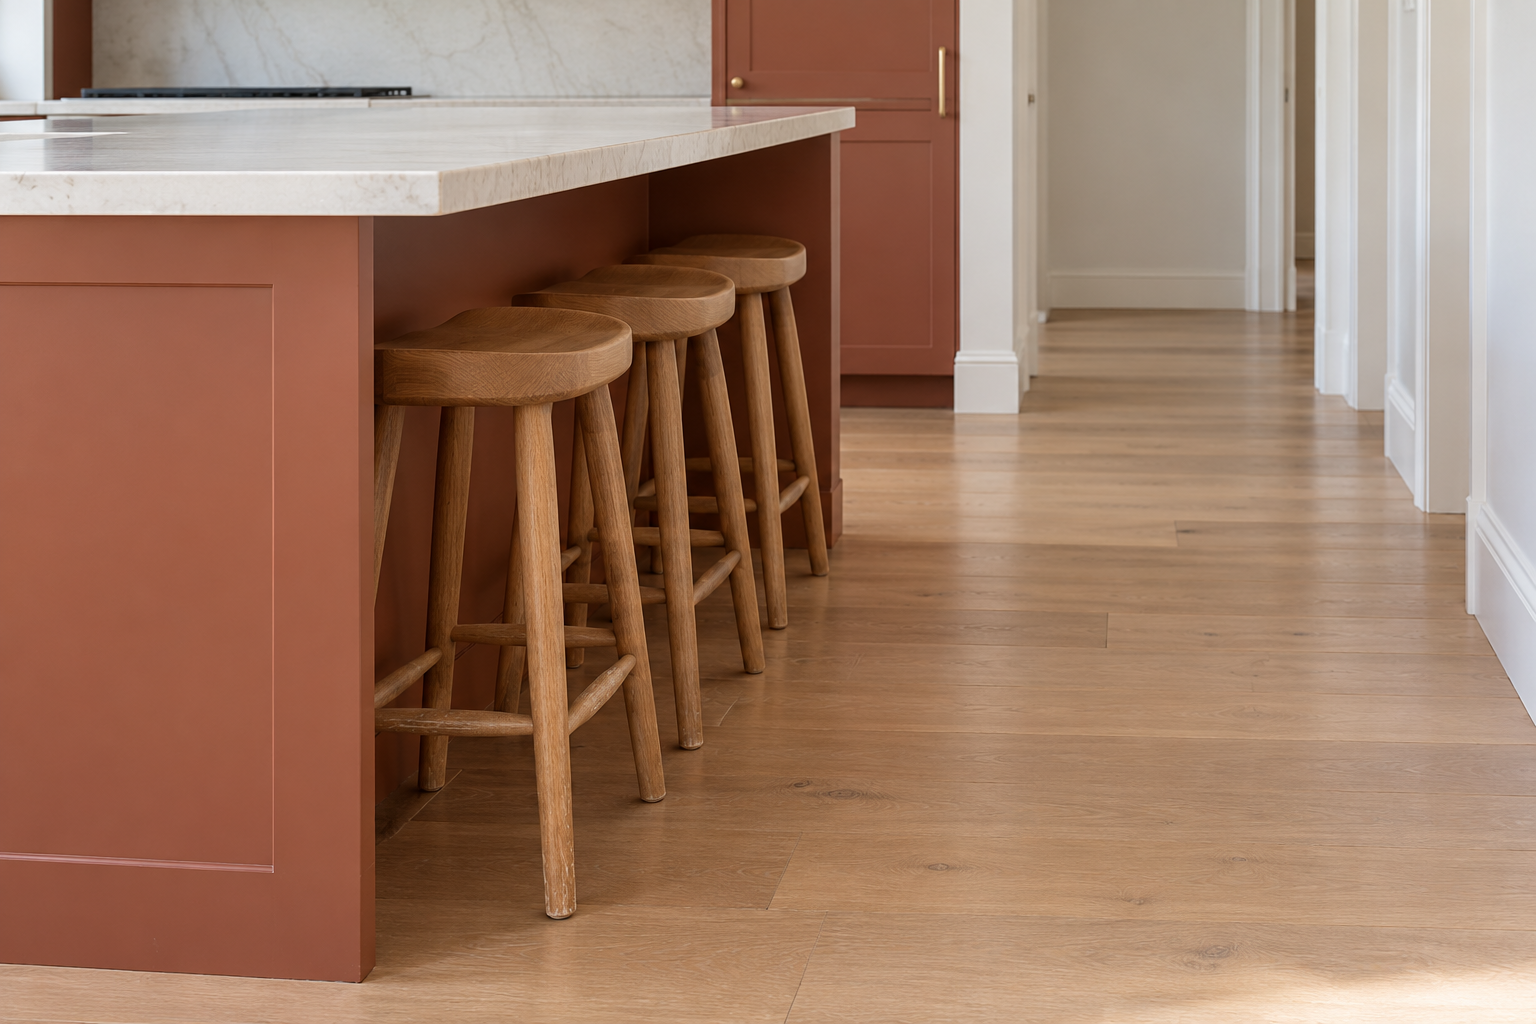
Stools left sticking out take up aisle. A counter that overhangs the cabinet by 12 to 15 inches gives knees somewhere to go, and it lets a backless stool push in until it’s out of the way.
Measure the stool before the top is ordered. Its seat should be 10 to 12 inches lower than the top of the counter, and most of its depth, front to back, should fit under the overhang.
Seat People Around a Corner
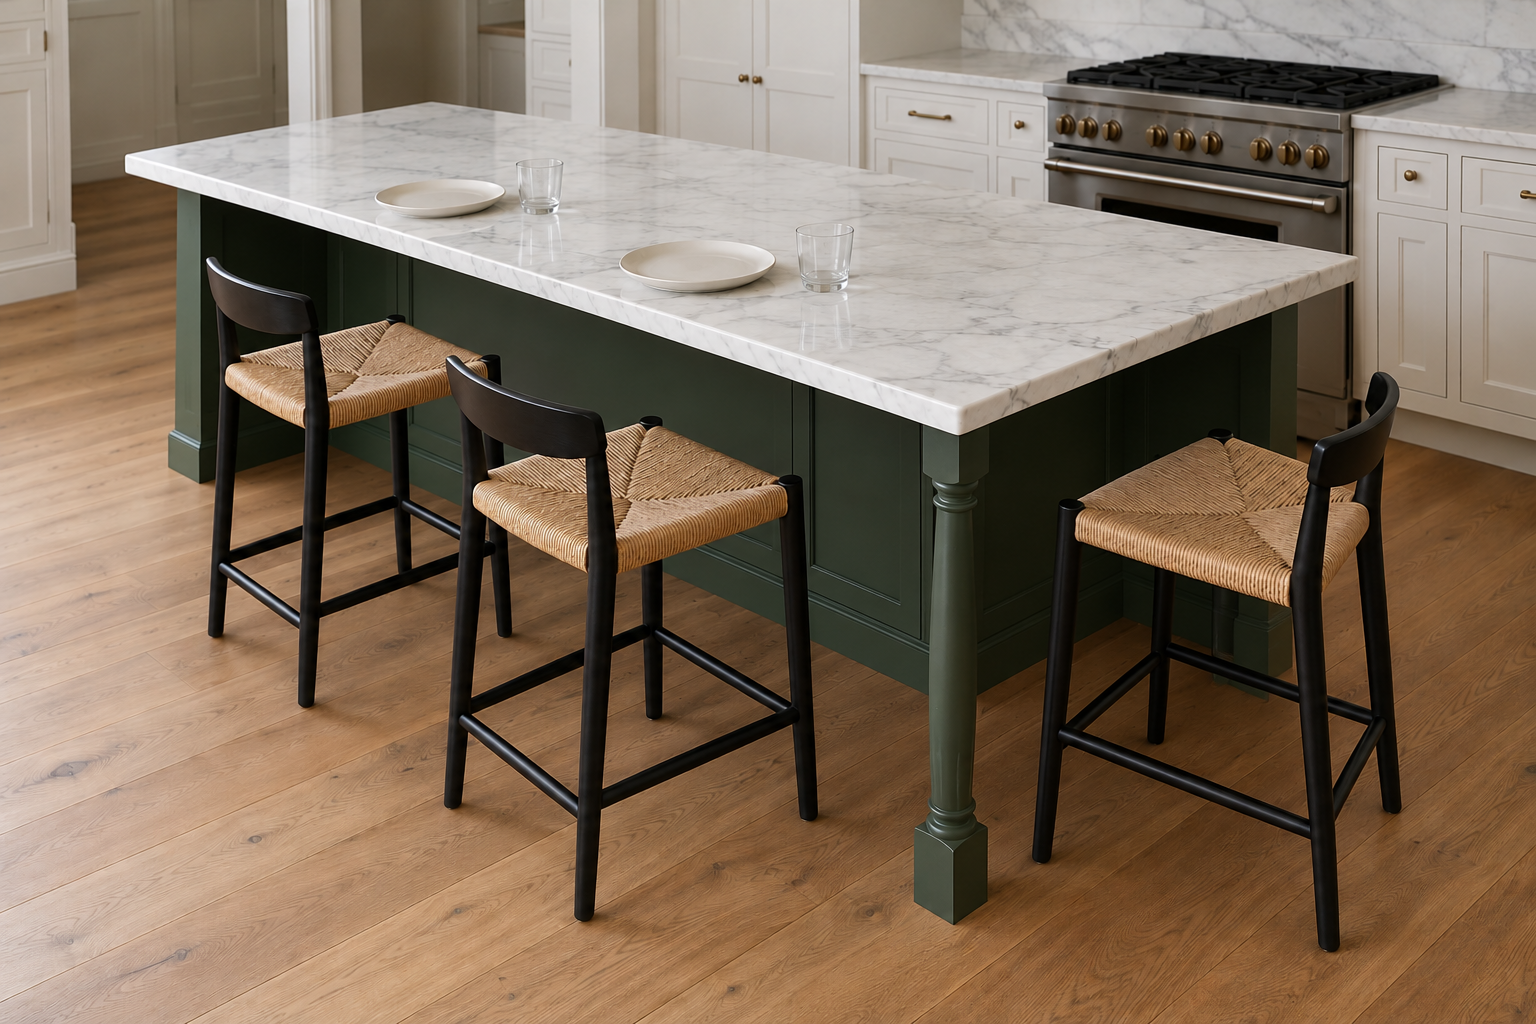
Four stools in a row put four people shoulder to shoulder, all facing the cook. Wrapping the overhang around one end of the island, so two sit on the long side and one or two on the short side, turns them toward each other. Each seat still wants about 24 inches of counter edge. A deep overhang at a corner may need a leg or brackets under it, which the fabricator decides.
Drop One End to Table Height
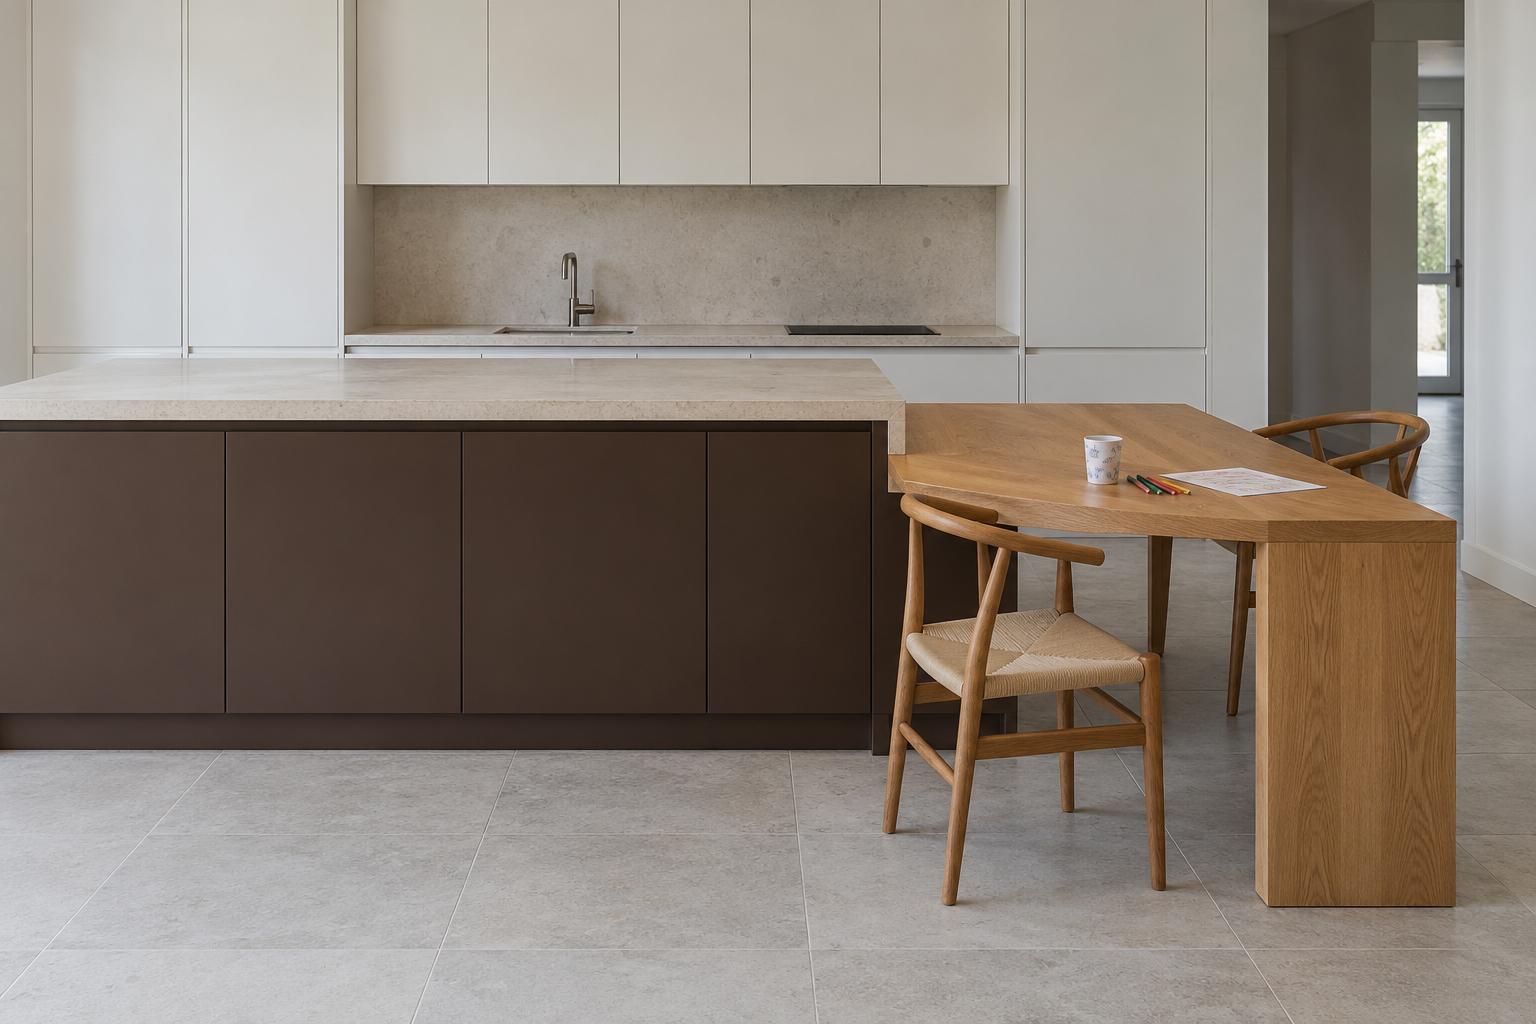
A counter 36 inches high is comfortable to stand at and takes a stool. A section lowered to 30 inches takes ordinary dining chairs, which are easier for small children and for anyone who finds a stool hard to climb onto. Knees need more room at this height, about 18 inches of clear depth under the top.
Make the step a clean one. With the lower section in wood and the rest in stone, it looks like a table pushed up against the island.
Back the Island With a Banquette
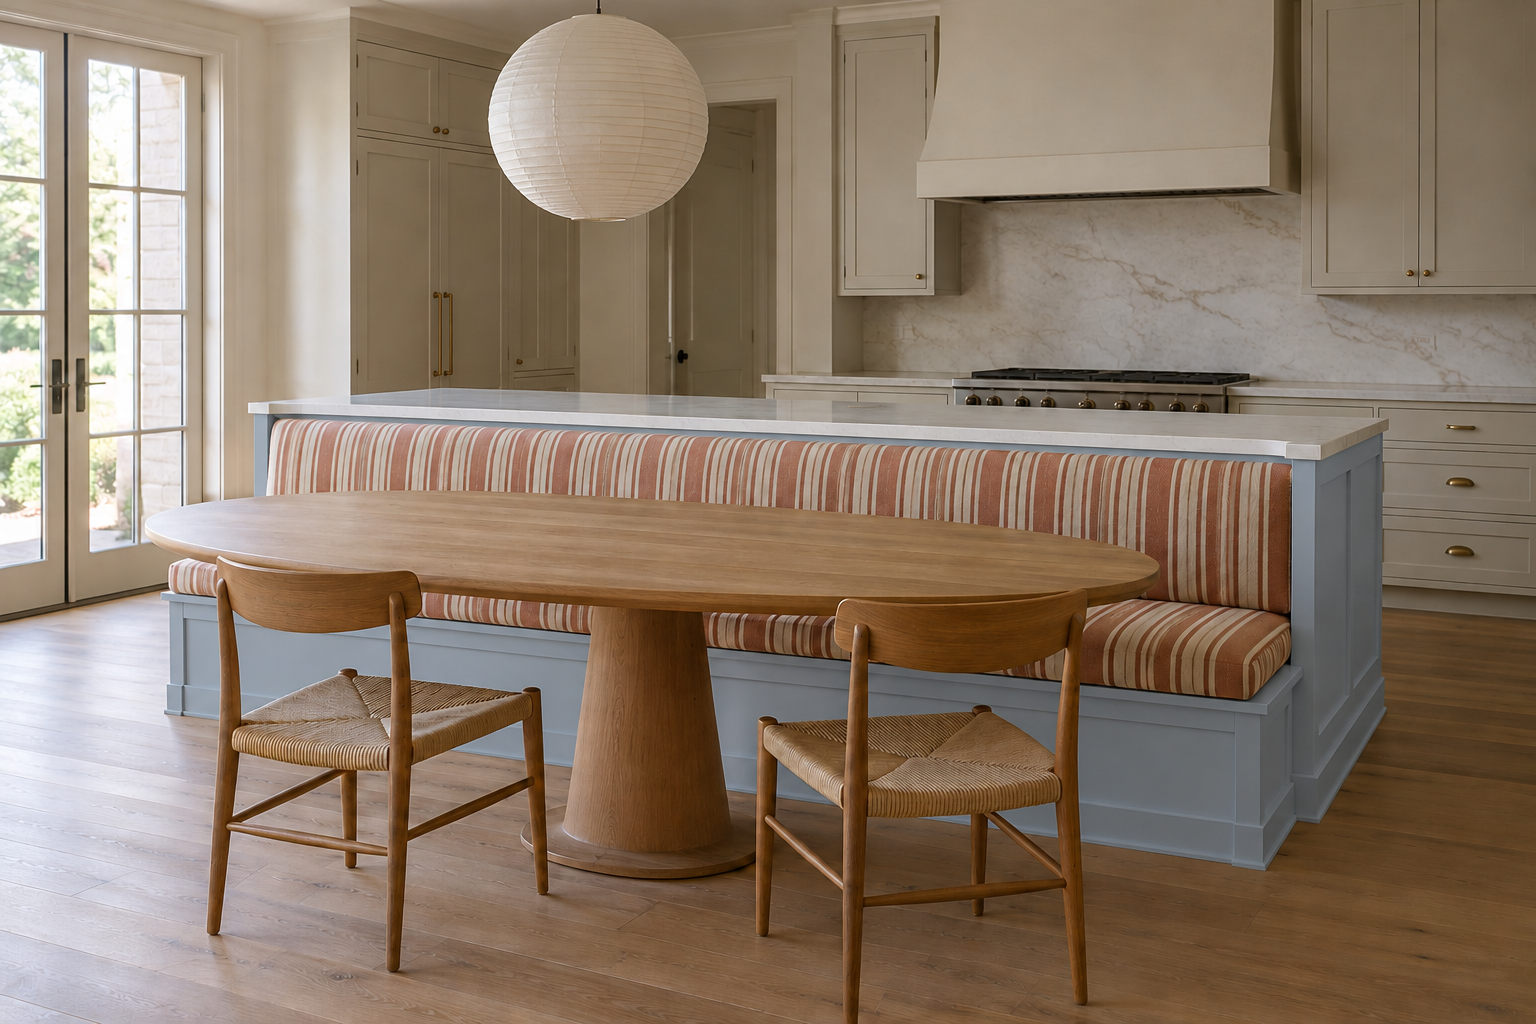
The back of an island is a blank panel 3 feet high, which is about the height of a bench back. A banquette built against it, with a table in front, gives the kitchen a place for meals without a separate dining area, and the cook’s side stays a work counter. It takes more floor than stools do, since the bench, the table, and the chairs opposite all sit beyond the island.
Round the End People Walk Past
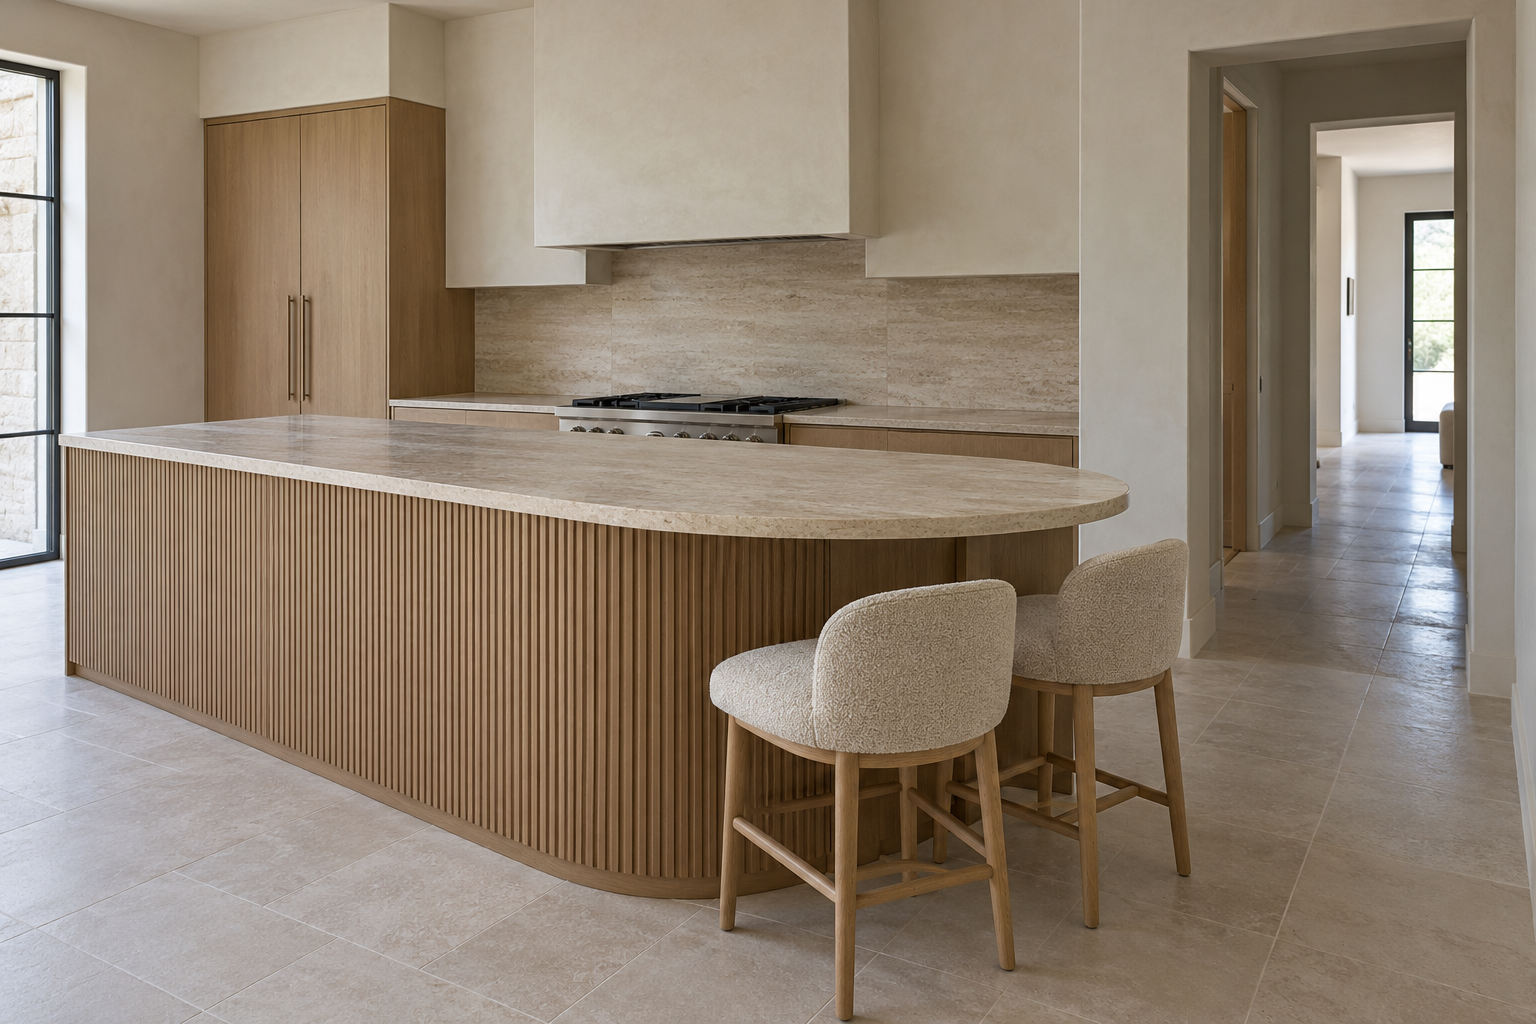
A square corner at hip height on the main path through the kitchen gets bumped. A curved end, or corners cut to a wide radius, lets people pass closer without catching it. A half-round end also lets stools fan out around the curve, facing in. Curved stone and curved cabinets cost more than straight ones, so rounding one end only, on the side people walk past, keeps the cost down.
Choose Drawers Over Doors
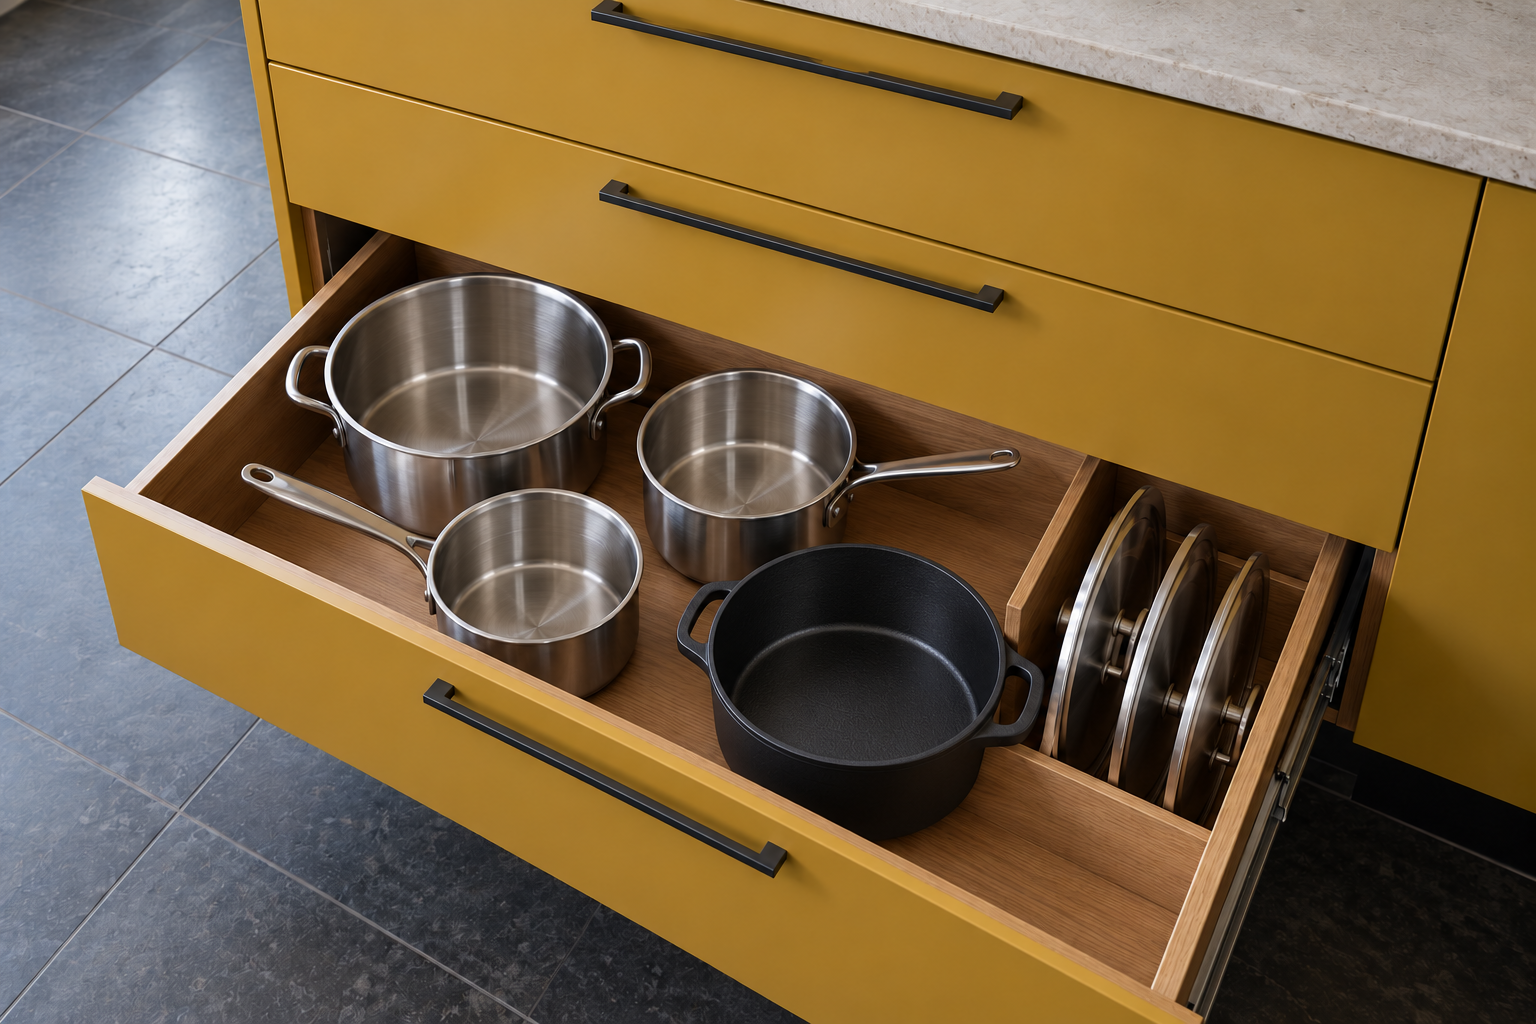
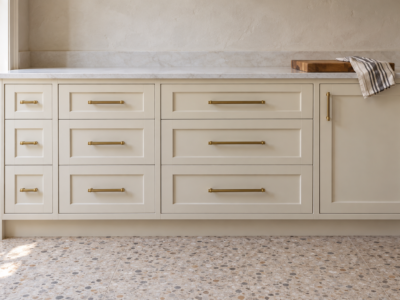
A base cabinet with doors has a shelf at the back that can only be reached by kneeling. Deep drawers on slides that extend fully bring the whole depth out into the light, and pots, mixing bowls, and food containers can be seen from above. What’s kept in the island is handled all day, so it matters more here than along a wall. Two deep drawers under one shallow one suits most of it.
Put the Trash Where the Chopping Happens
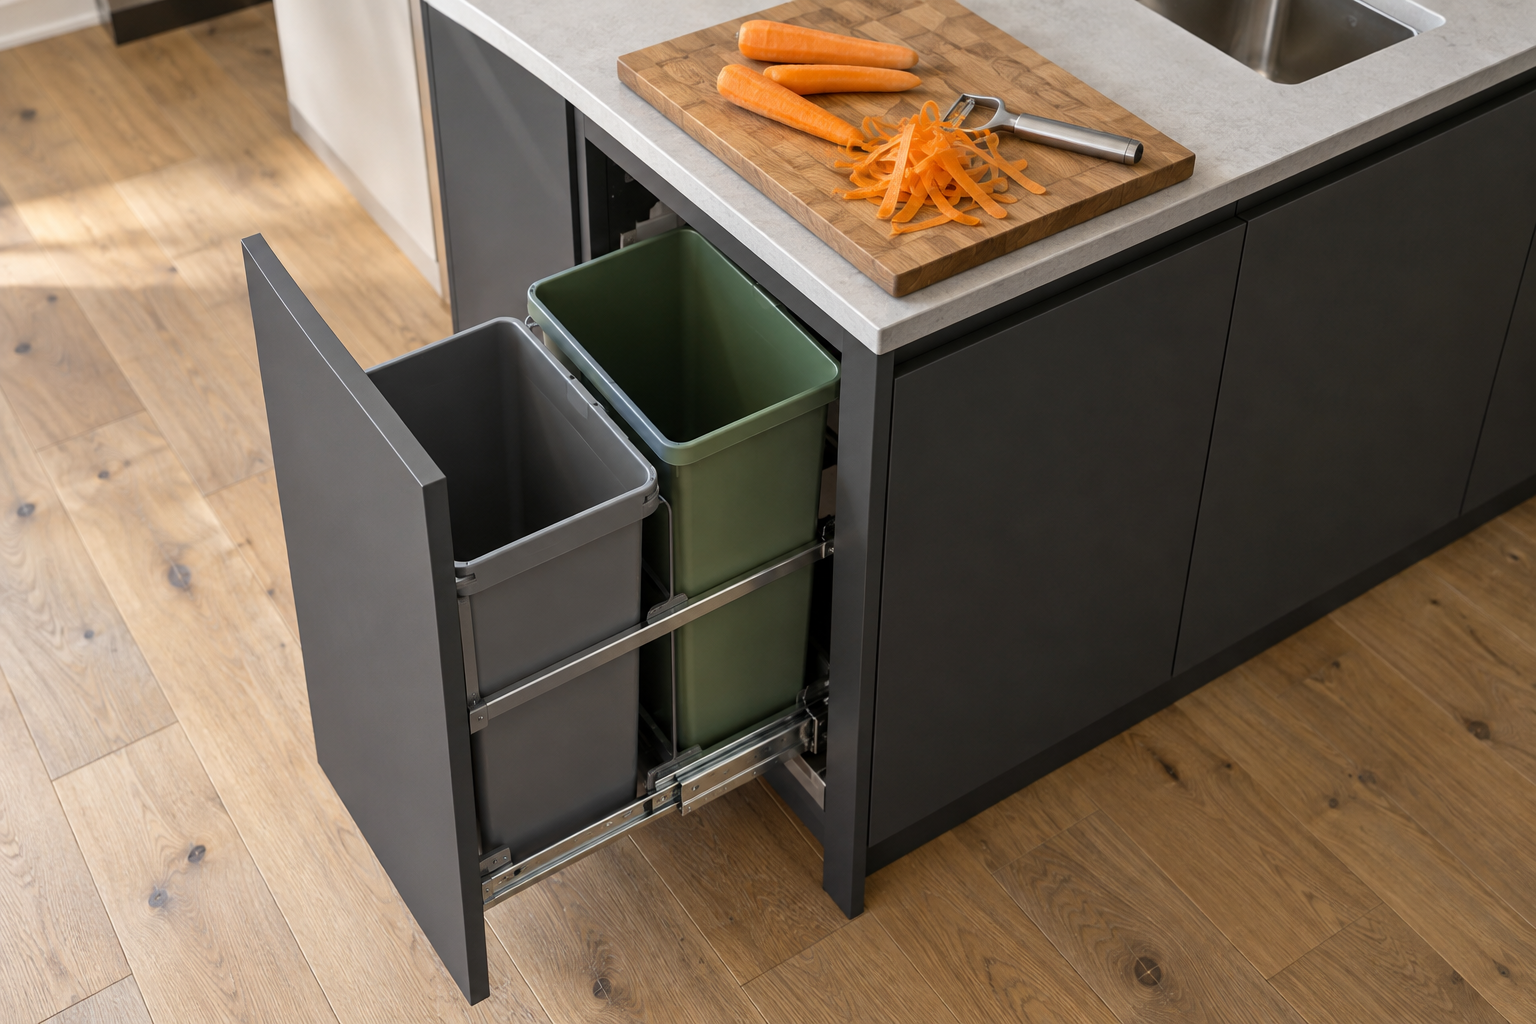
Peelings and packaging are produced at the prep counter, and the bin is usually somewhere else. A pull-out with two bins, one for trash and one for recycling, built into the island under the prep area means scraps go off the board and straight down. Put it at the end nearest the sink, on the cook’s side. At the end, an open pull-out leaves the rest of the counter free to stand at.
Hang Shallow Cabinets on the Stool Side
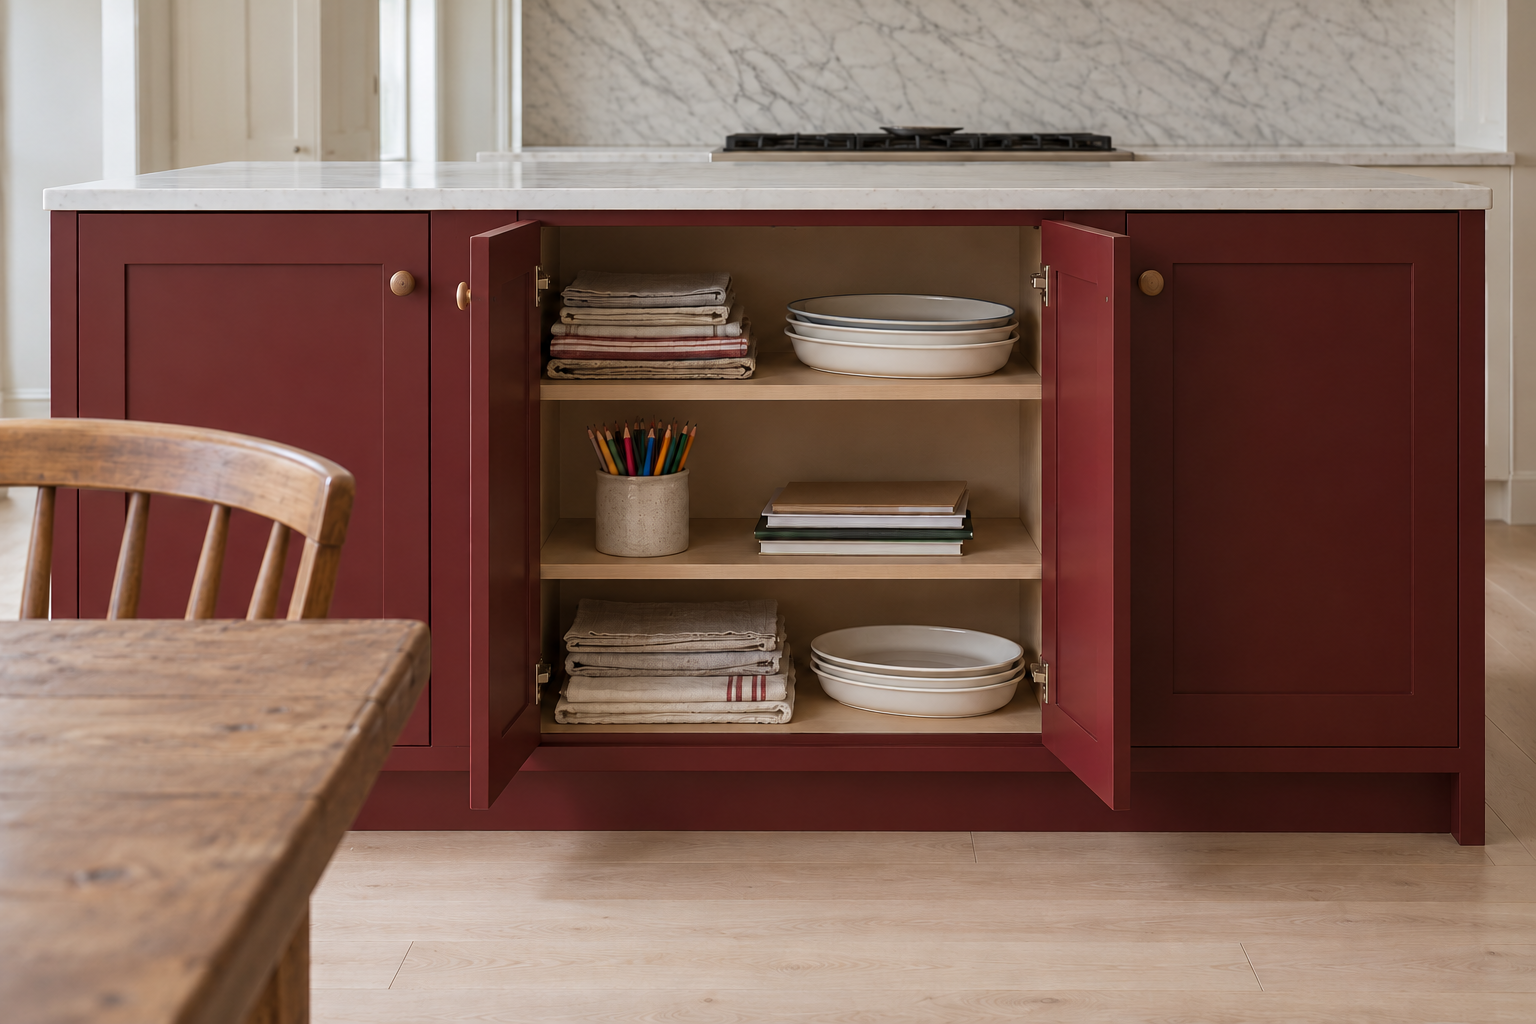
An island deeper than a standard cabinet has empty space behind the drawers. Cabinets about 12 inches deep fitted to the back turn it into storage for things used on that side, such as placemats, serving dishes, and school supplies. They only work where no overhang is in the way. That makes them right for the stretch of the back with no stools, or for an island nobody sits at.
Open the End for Cookbooks
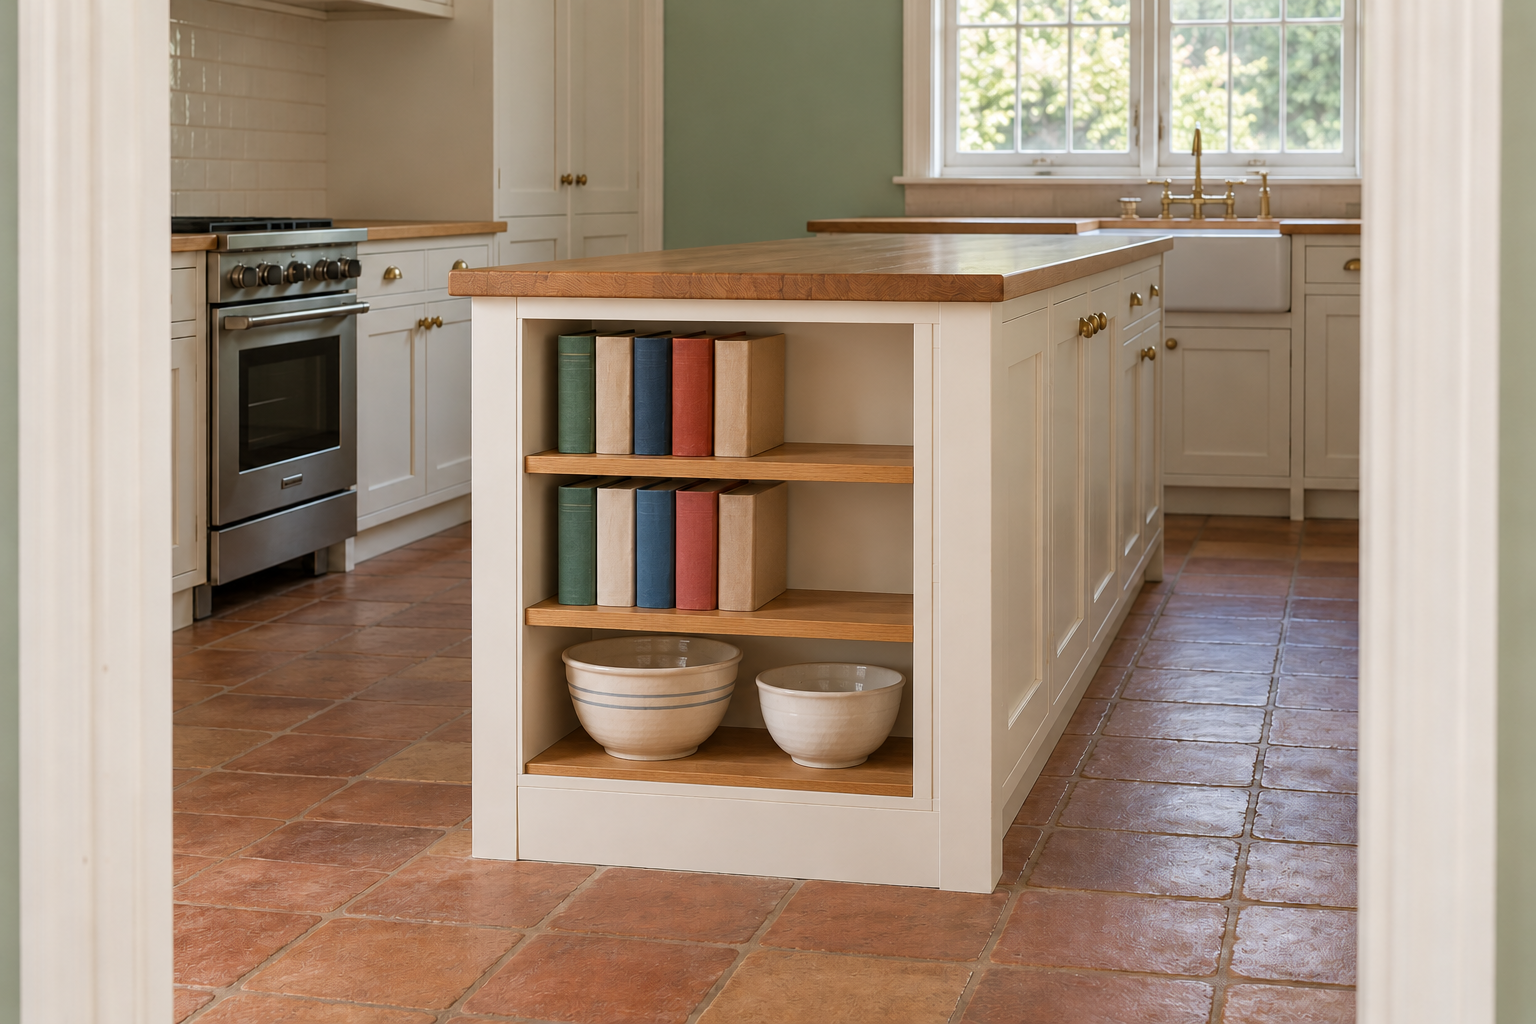
The end panel of an island faces down the room and is often the first part of the kitchen seen from the door. Open shelves there, 8 to 10 inches deep, hold cookbooks with their spines out and keep them off the counter. Leave the shelves to books and a few large bowls. Small things on low open shelves beside a walkway get knocked.
Set the Microwave Below the Counter
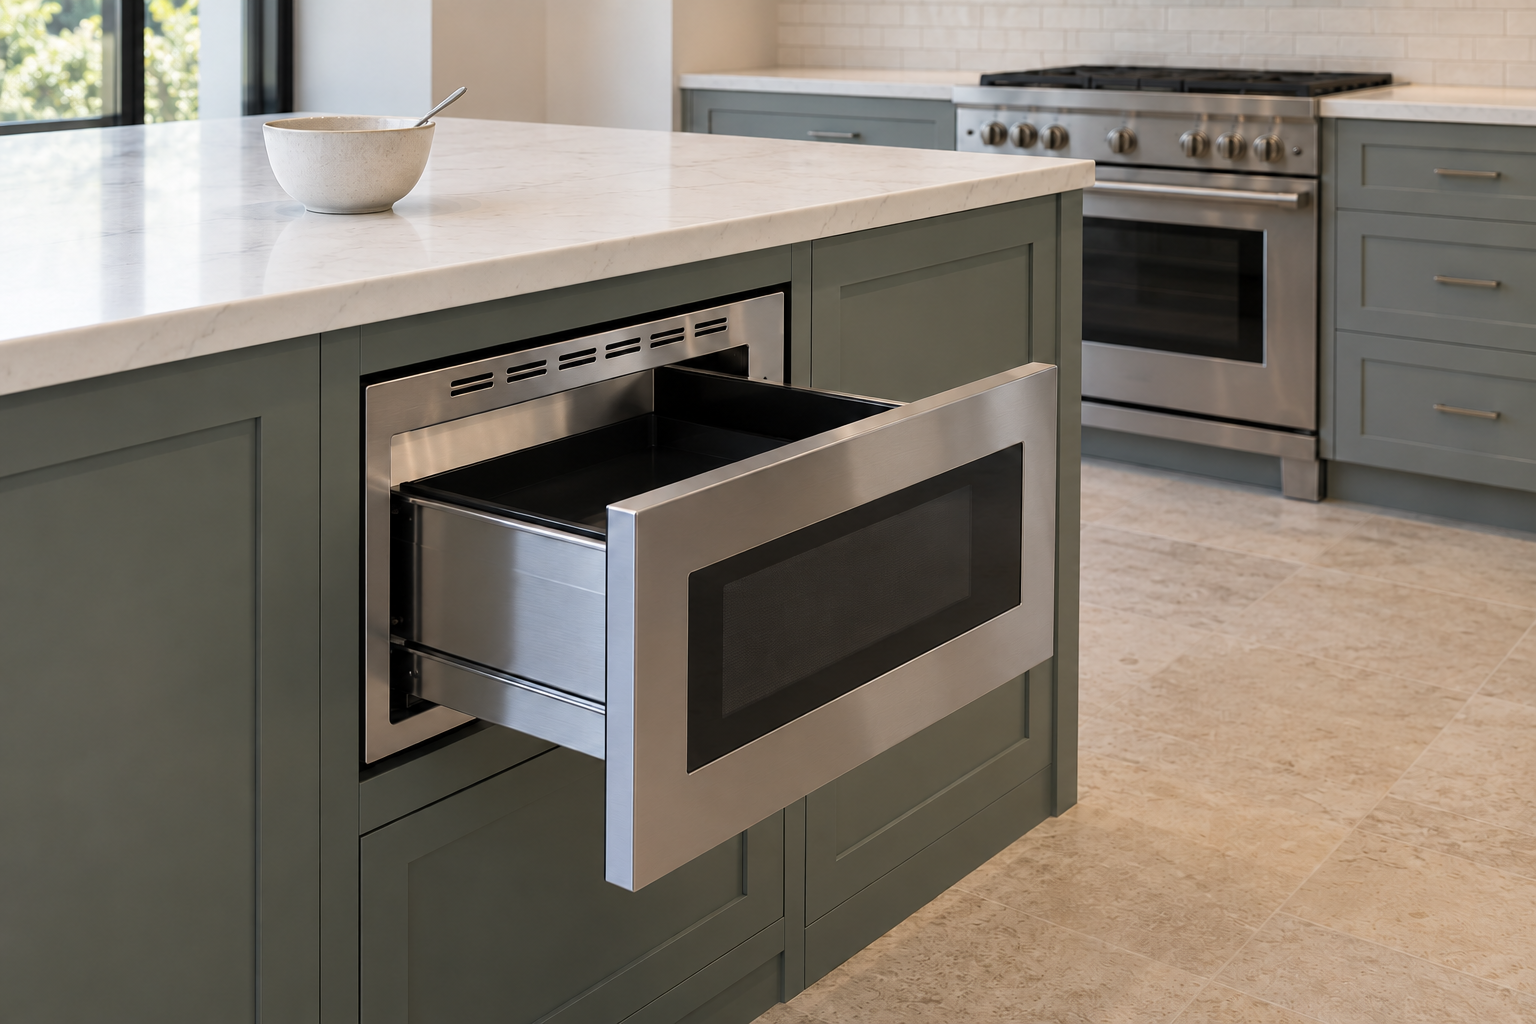
A microwave on the counter takes up a stretch of it, and one mounted over the range is a reach for a child. Built into the island below the counter, either a drawer model that opens from the top or a standard one on a shelf, it’s off the worktop and low enough for a ten-year-old to heat something without help. Put it at the outer end, so whoever is using it stands clear of the cook.
Give Drinks a Refrigerator of Their Own
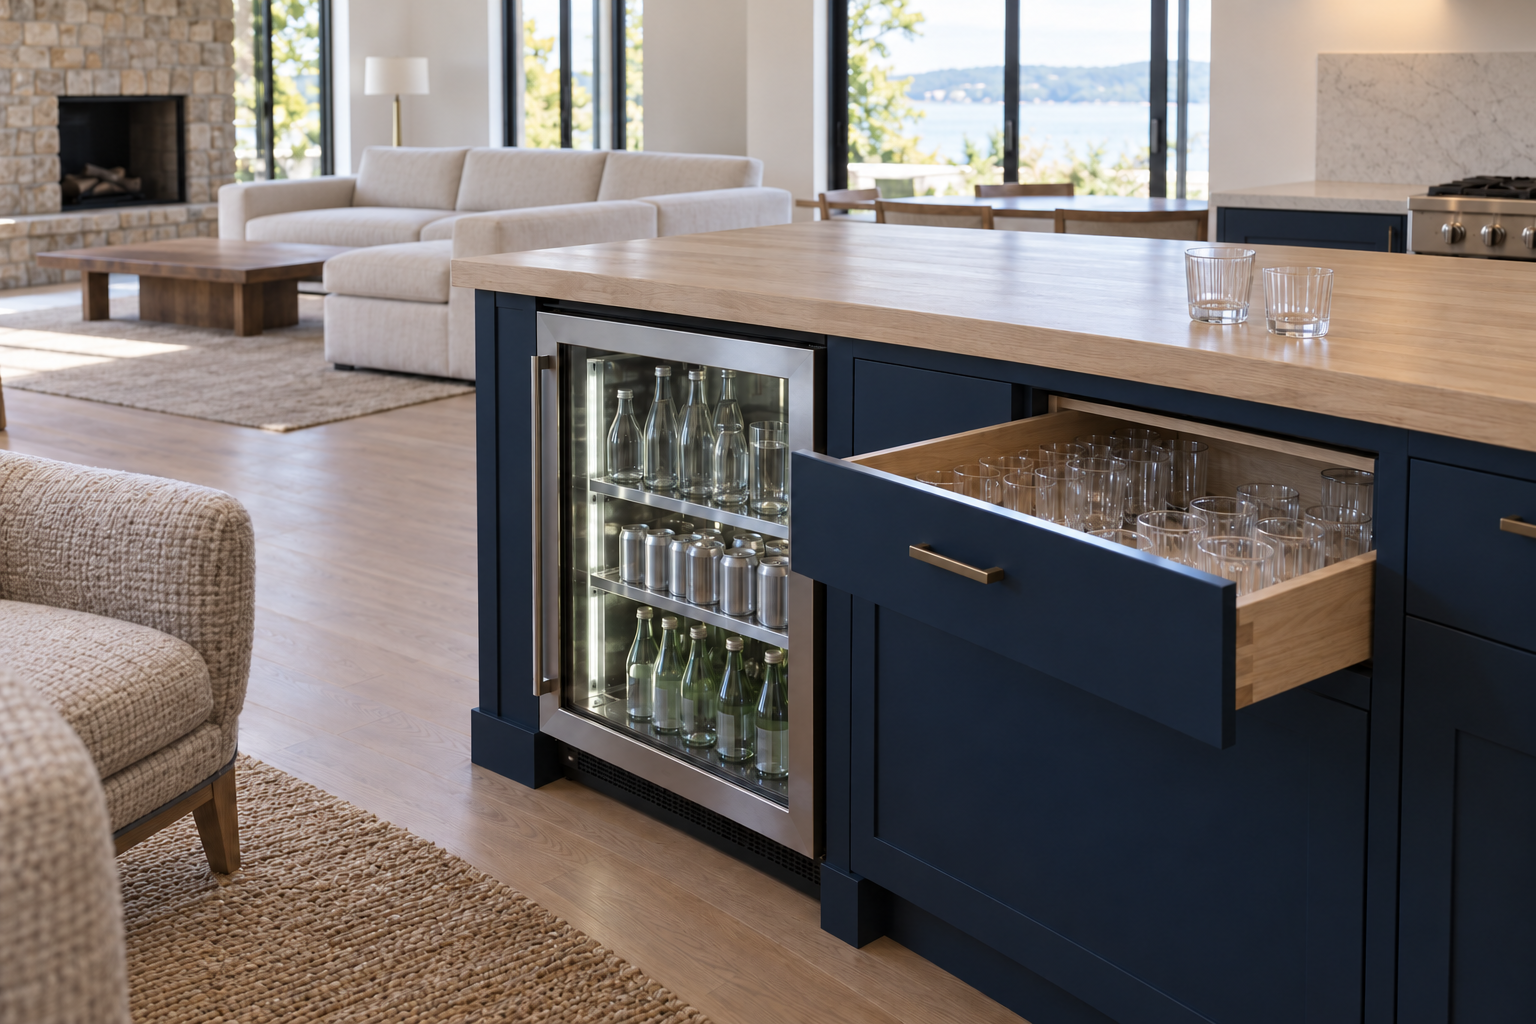
People come into a kitchen for a drink while someone else is cooking. A small refrigerator under the counter, at the end of the island nearest the living room, keeps those trips out of the work area. It needs an outlet and some clear space for ventilation, which differs from model to model. A drawer for glasses beside it finishes the job, and a coffee station does the same for the morning.
Build In a Place for the Dog’s Bowls
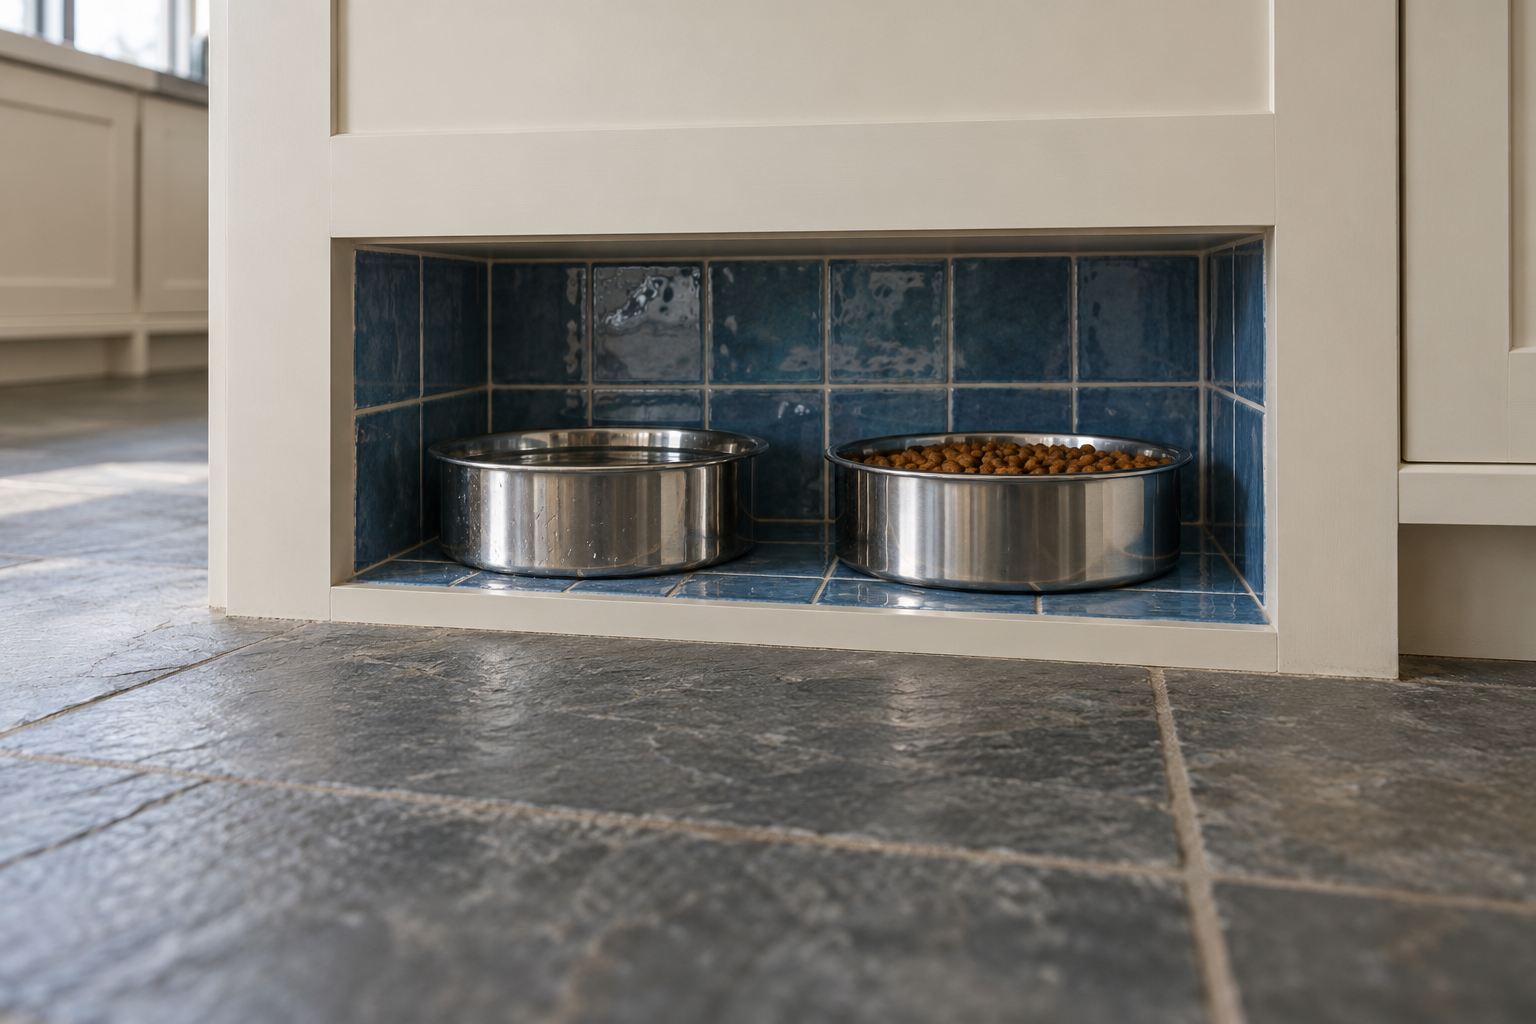
Bowls on the kitchen floor get kicked, and the water ends up across the aisle. A recess at the base of the island’s end panel, open at the front and a little taller than the bowls, takes them out of the path. Line it with something that wipes clean, such as tile or a piece left over from the countertop. Choose the end away from the range and the main route through the room, so the dog isn’t underfoot while eating.
Paint the Island a Different Color
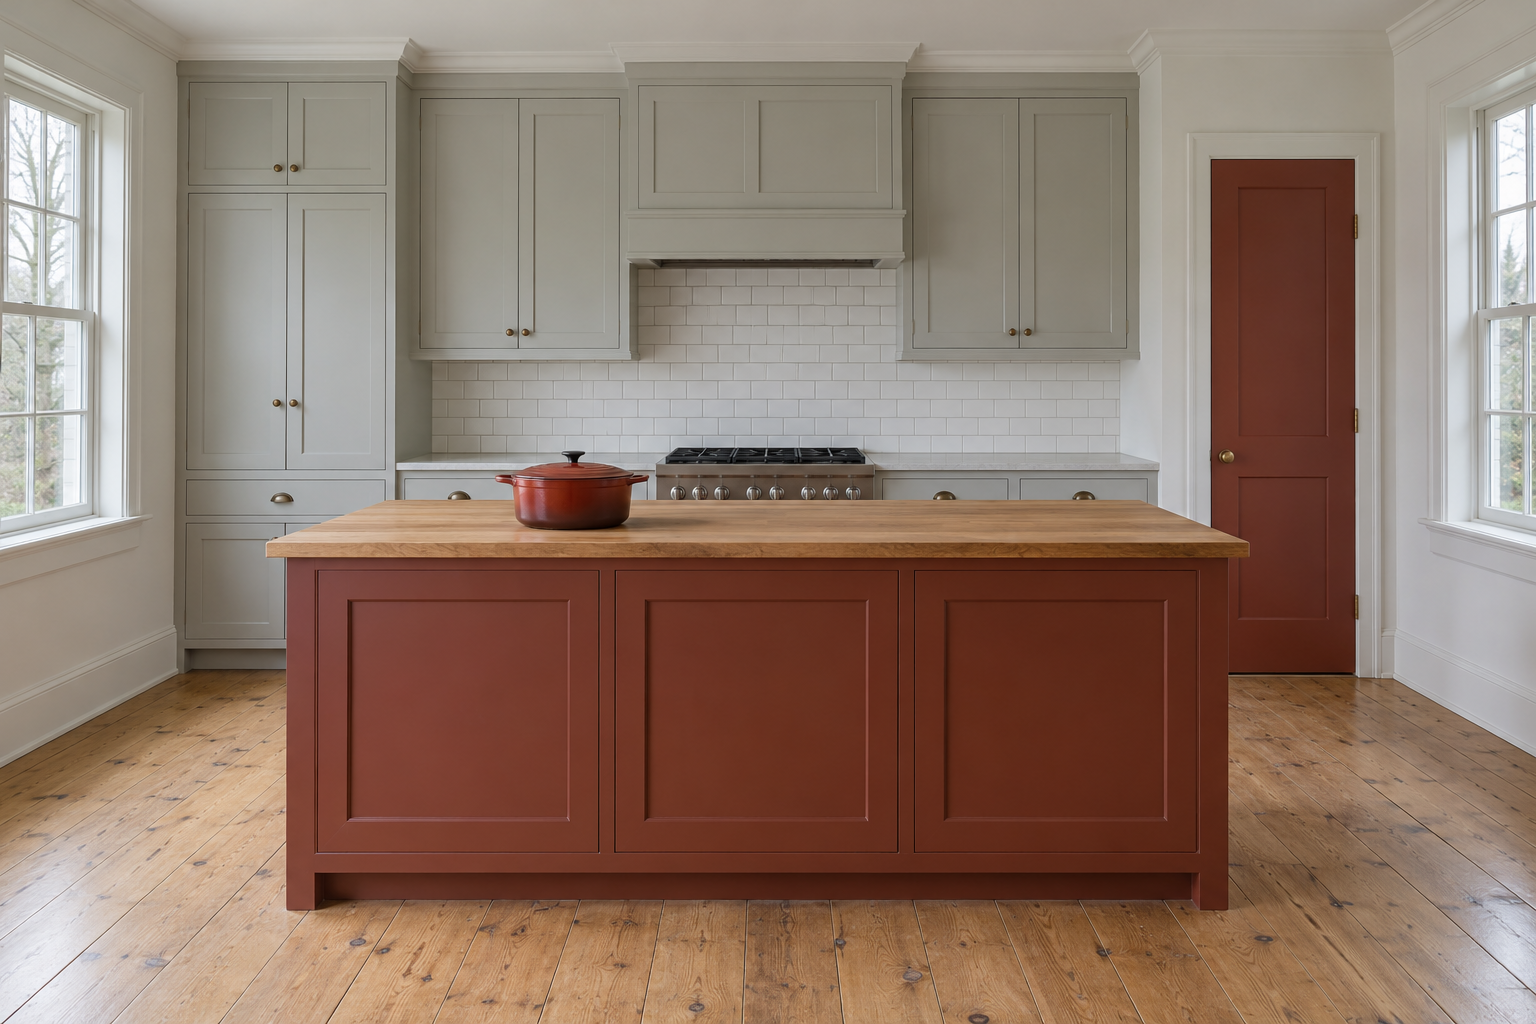
An island is seen from every side and stands below eye level, so it can take a stronger color than a whole wall of cabinets could. A deep teal or a brick red on the island, with the wall cabinets left pale, gives the room one block of color in the middle and keeps the walls light. If the island then looks cut off from the rest, repeat the color once elsewhere, on a pantry door or the inside of a glass cabinet. The countertop can change along with it.
Run the Stone Down the Sides
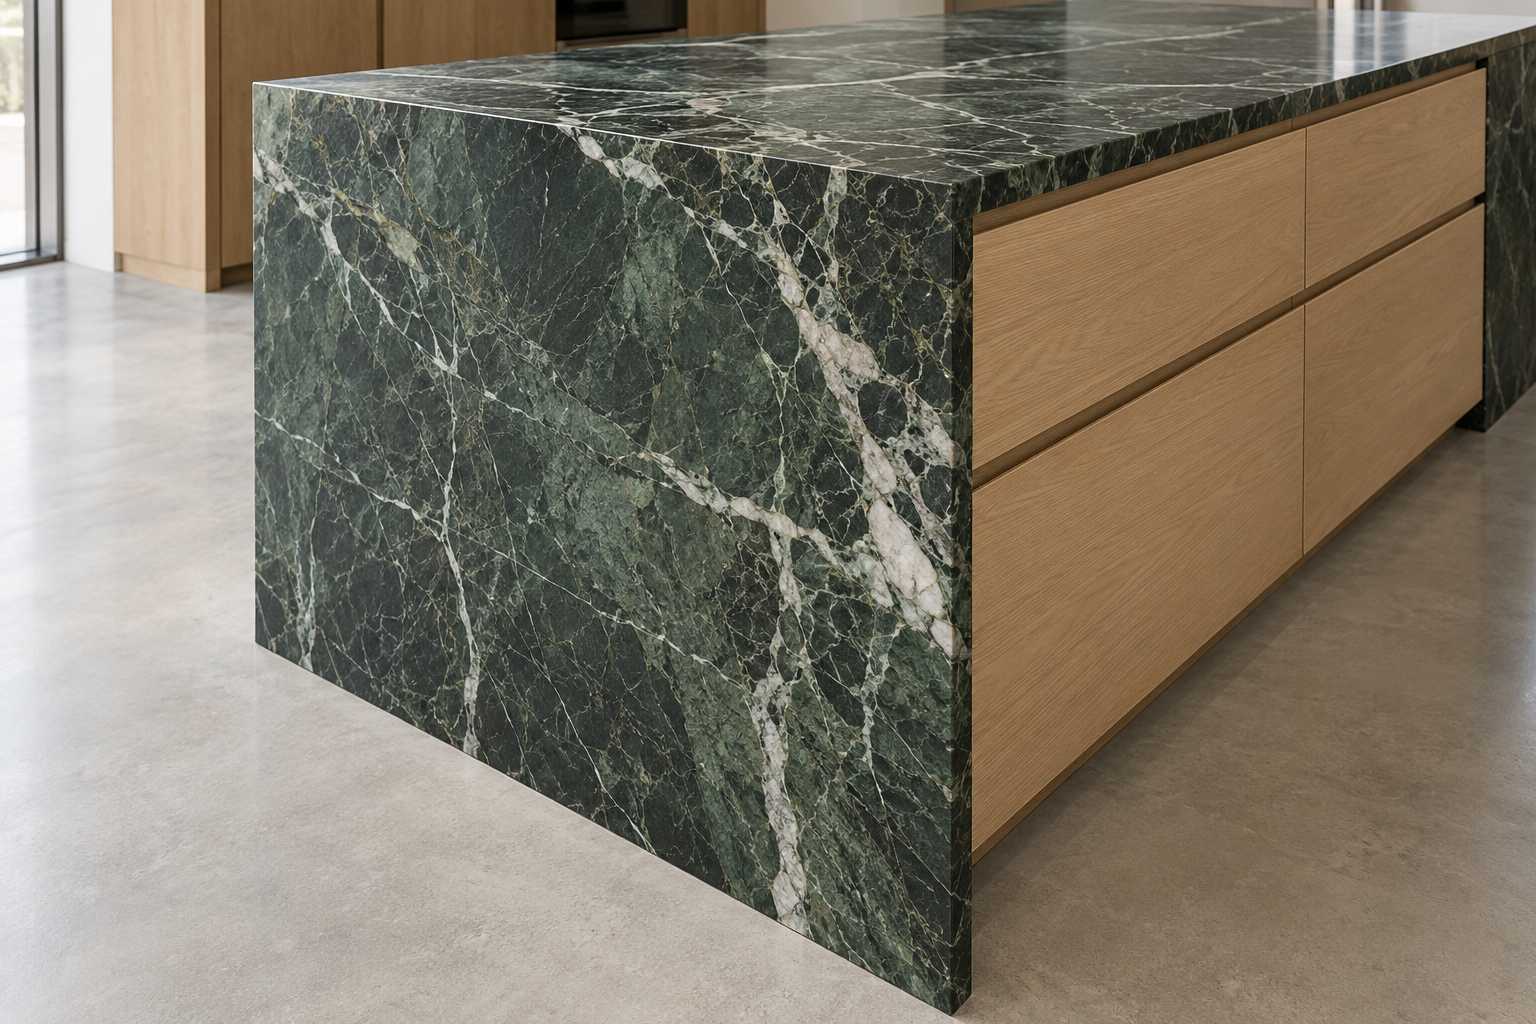
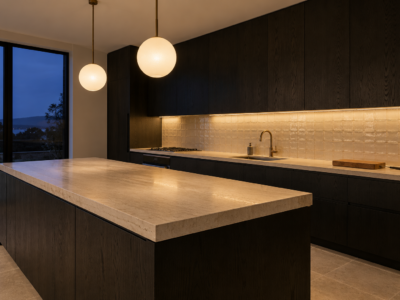
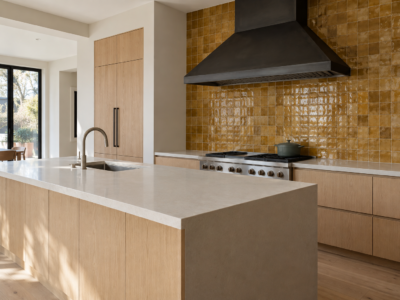
On a waterfall island the countertop turns at each end and continues to the floor, so the cabinet sits between two slabs. With a veined stone, the fabricator can cut the top and the side from one slab so the veins carry on around the corner. The stone also protects the ends from bags and the vacuum cleaner, which helps where the island stands in a path. It rules out end shelves and seating at the end.
Face the Stool Side With Something That Takes Kicks
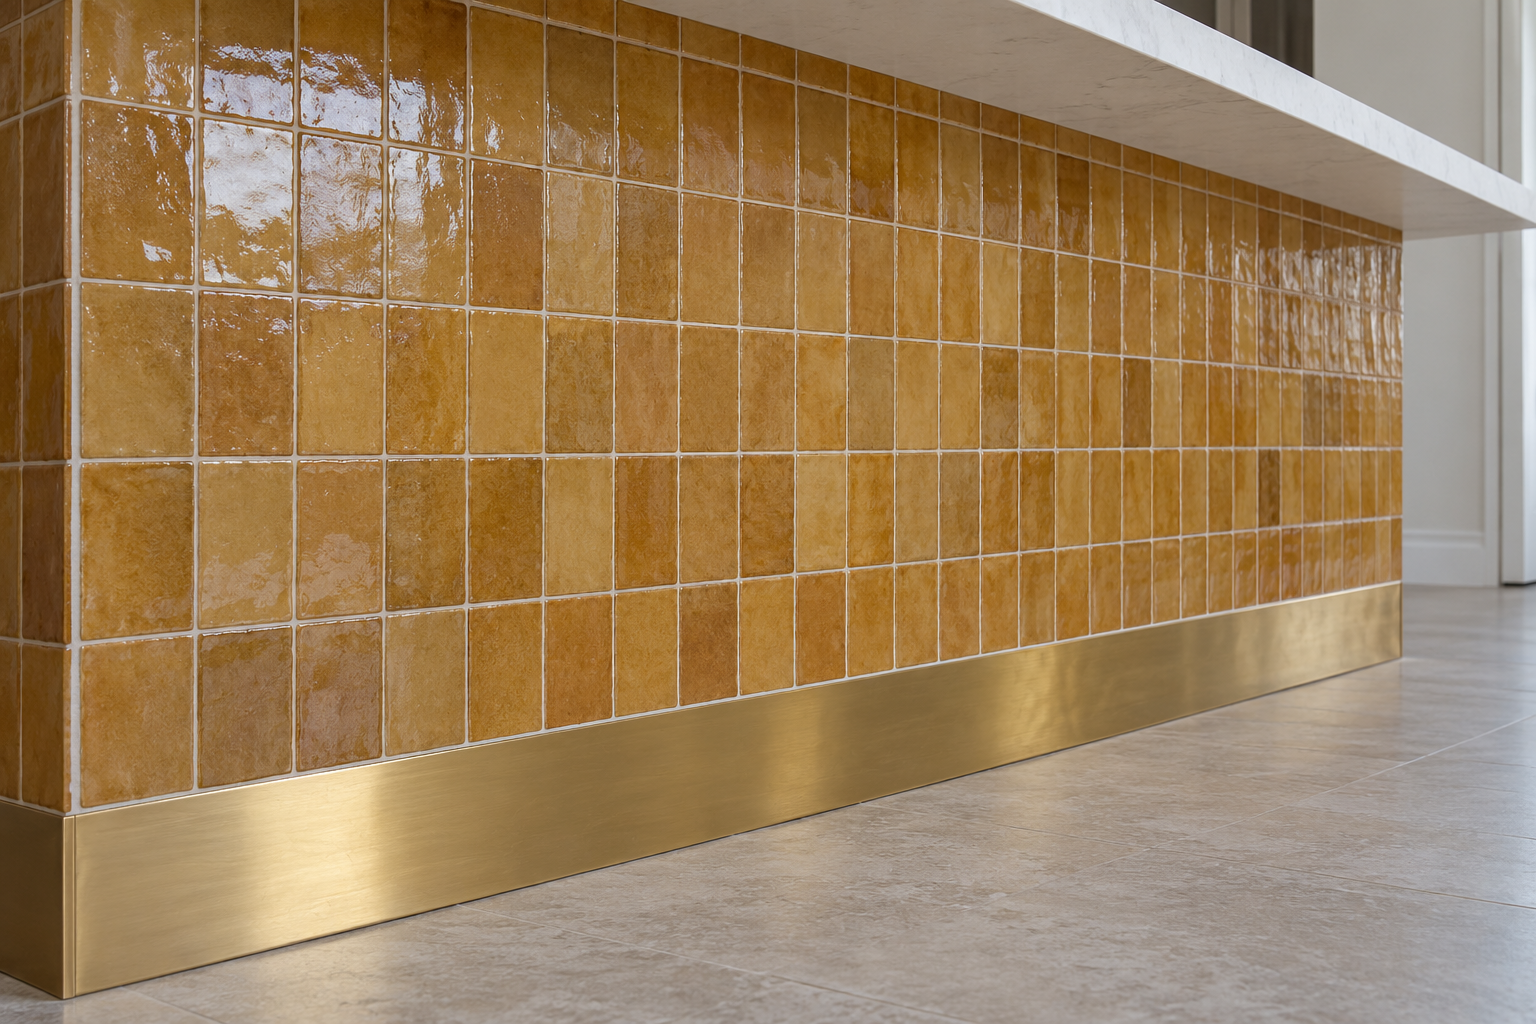
The panel under the overhang is where shoes land, and flat paint shows every mark. Tile, planks of oak with a hard finish, or a strip of metal along the bottom foot can be wiped clean. It’s also the largest plain surface on the island. A tiled or planked face gives it joints and shadow lines that flat doors don’t have.
Use a Table or an Old Shop Counter
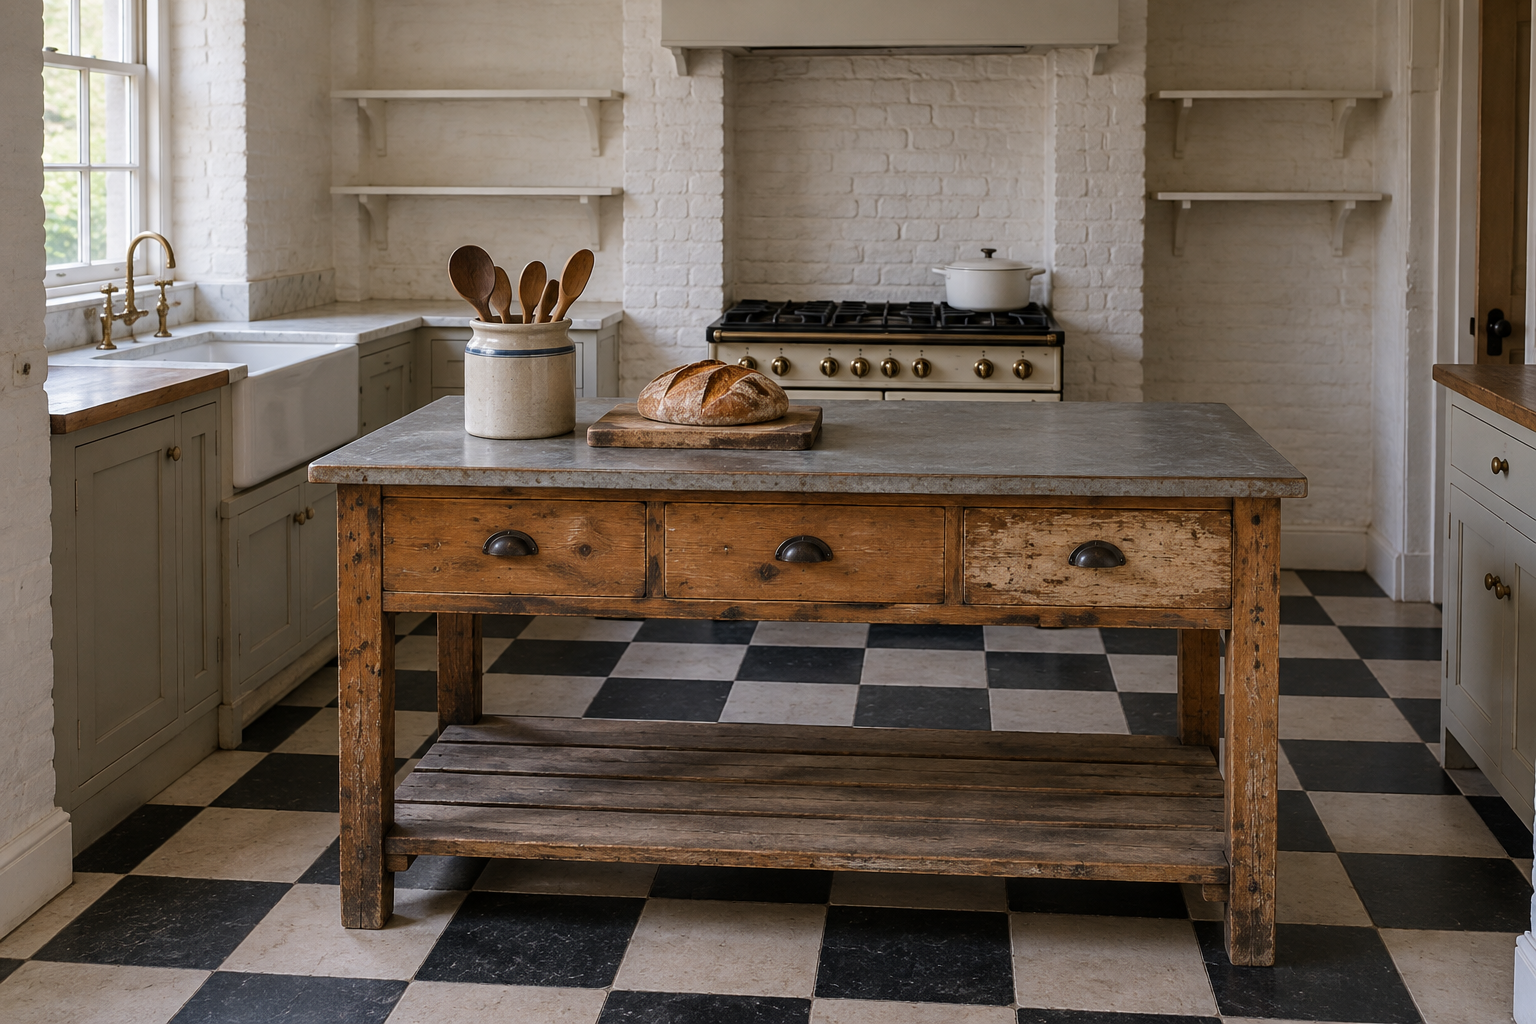
An island doesn’t have to be cabinets. A sturdy work table, a baker’s table with a marble top, or a counter salvaged from an old shop stands on legs, and the floor running under it makes a small kitchen look less filled. It has no plumbing and no wiring, so it can be moved or sold.
Check the height. Tables are about 30 inches, and anything used for chopping while standing is more comfortable near 36.
Put a Small Island on Locking Casters
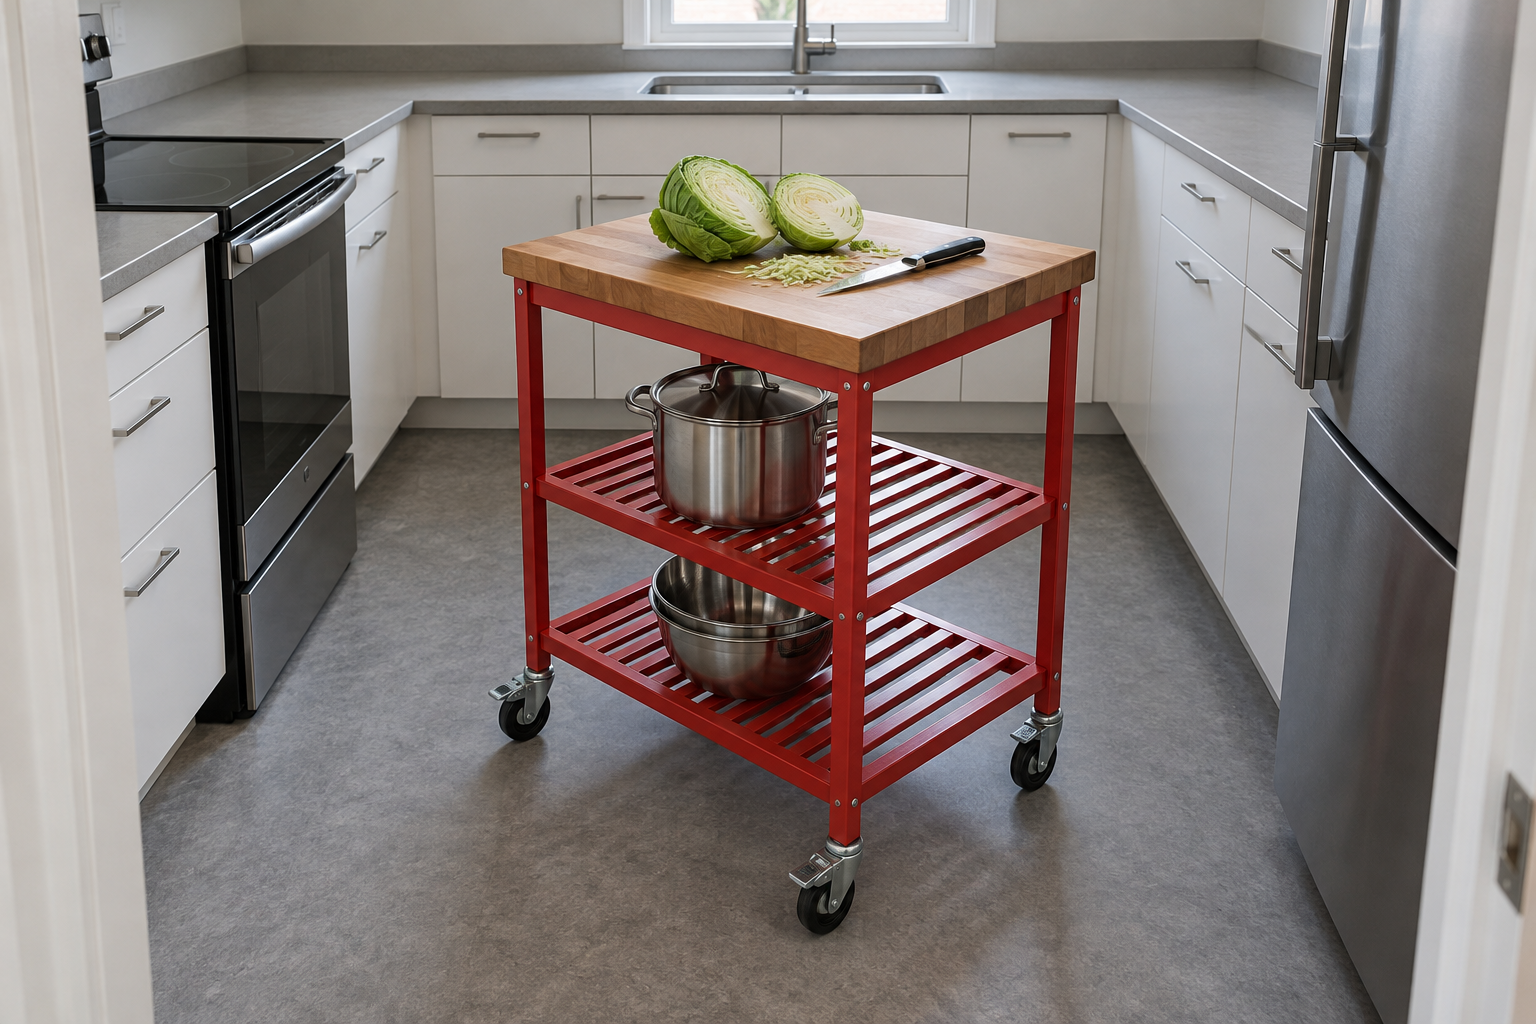
Where the aisles are too tight for a fixed island, a cart about 2 feet by 3 can stand in the middle of the floor during cooking and against a wall afterward. The casters need locks, and a heavy top of butcher block or stone helps the cart stay put while someone is kneading on it. A shelf or two below holds the pots that would have gone in an island’s drawers.
Keep It Narrow in a Narrow Room
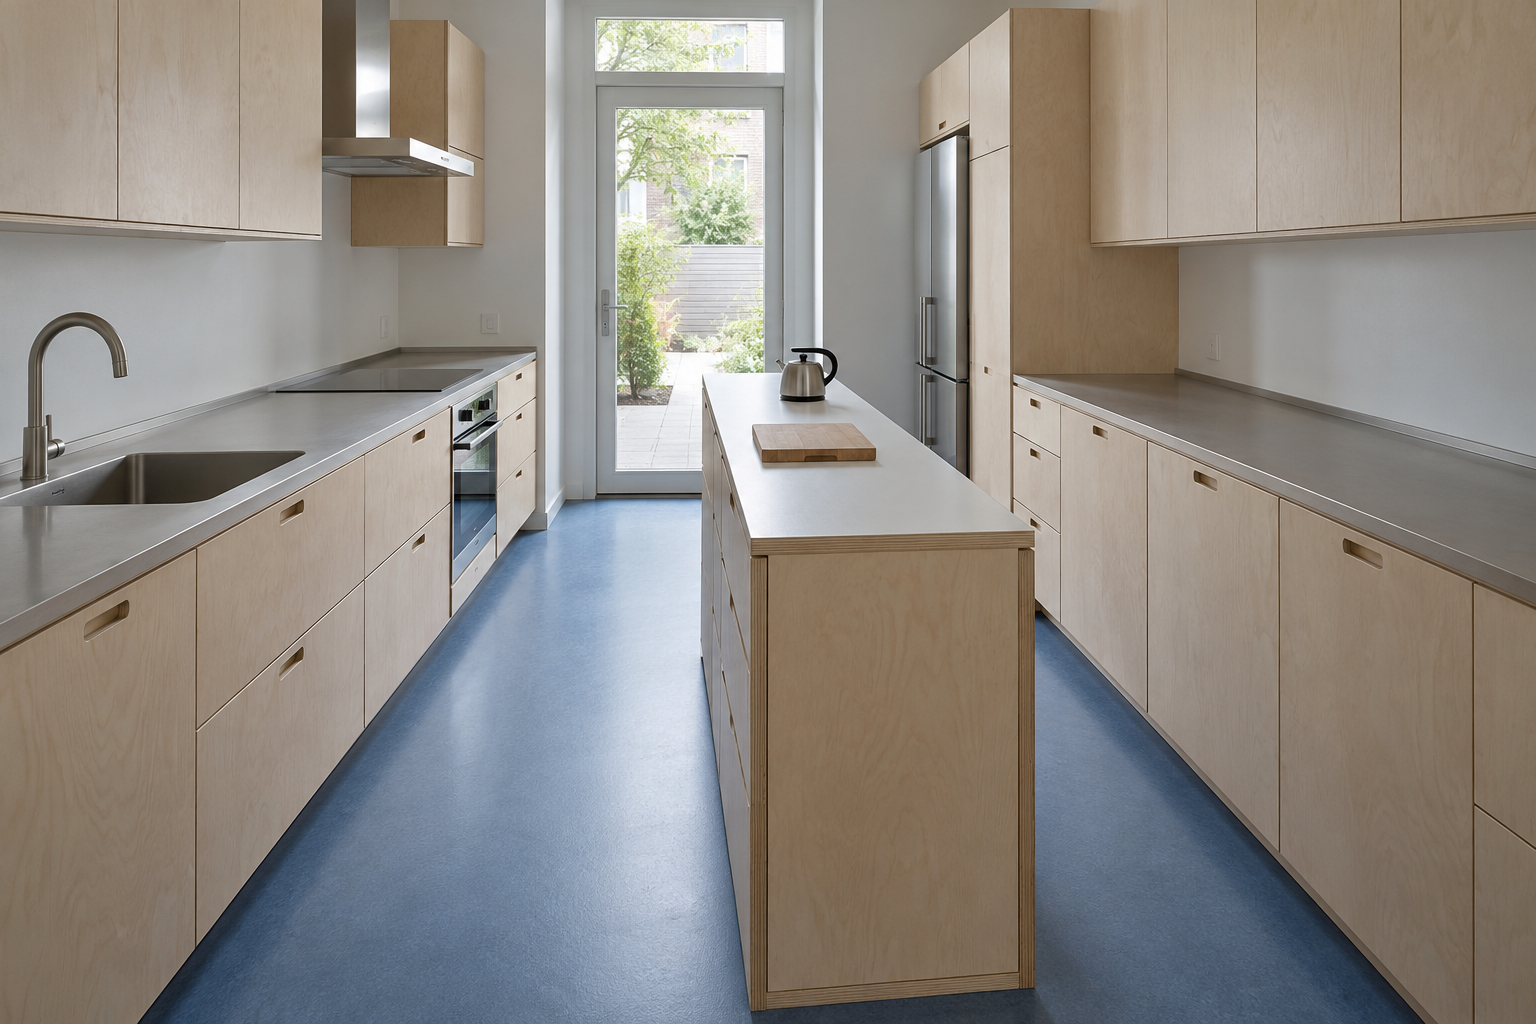
An island can be as little as 24 inches deep and still be a counter to work at. In a long kitchen that’s short on width, a narrow island with no seating keeps both aisles usable, where a deeper one with stools would close one of them. Storage goes in drawers on the cook’s side only. Think of it as a second counter that happens to stand free.
Split a Big Island in Two
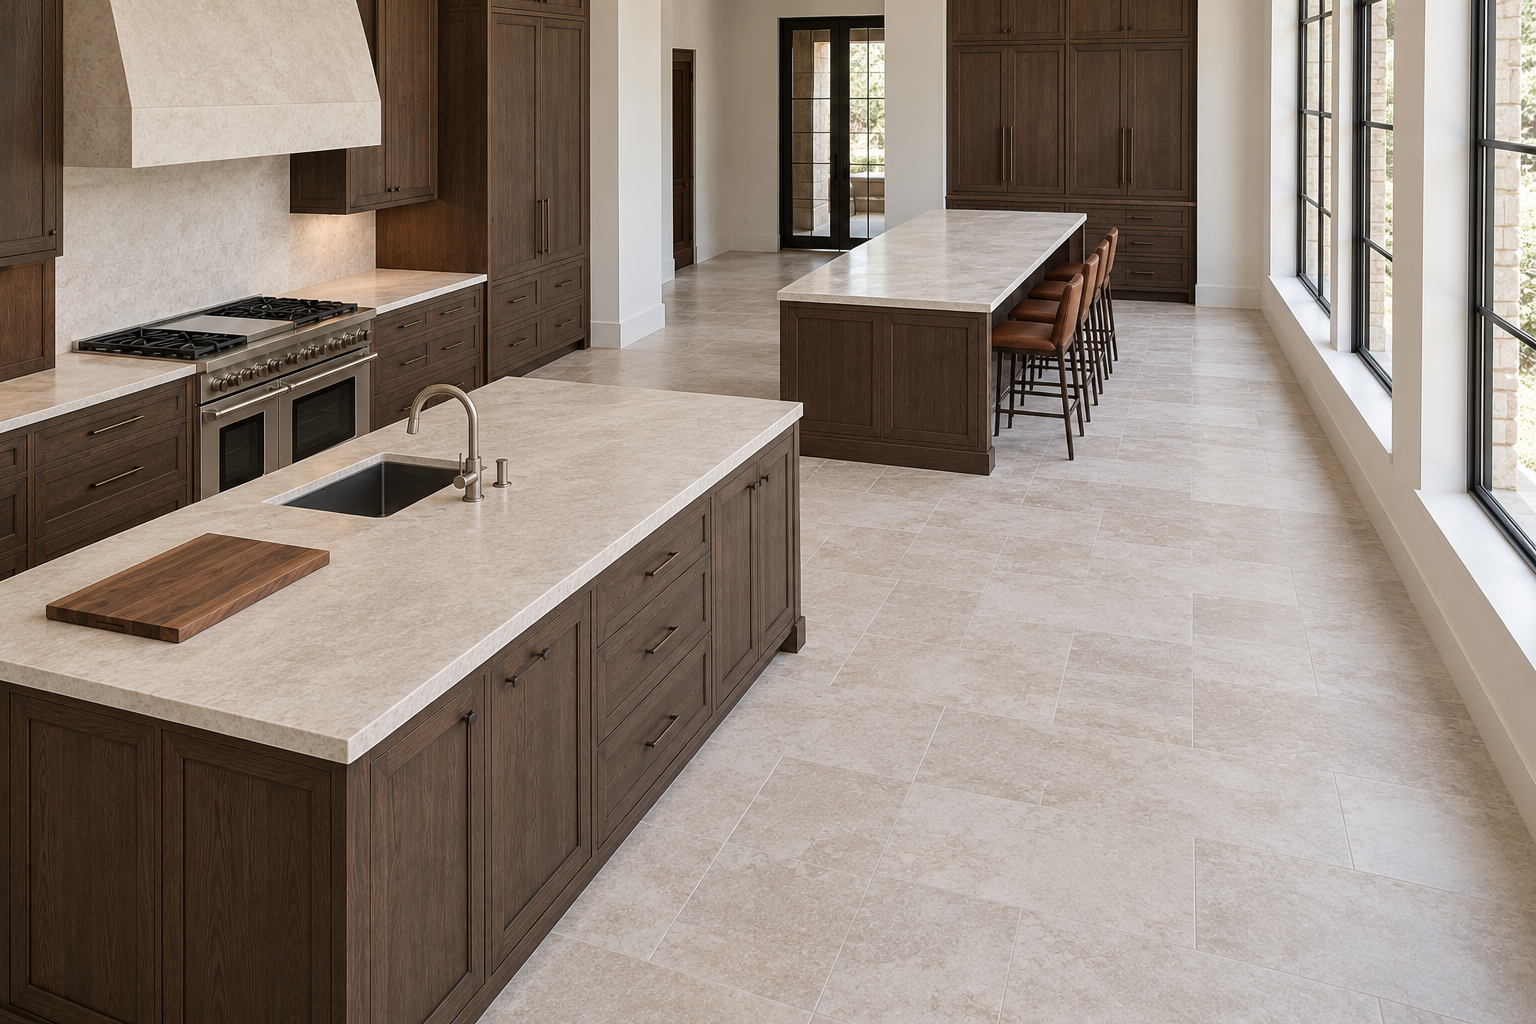
In a large kitchen the temptation is one very long island. Past about 10 feet it becomes something to walk around, and a stone top that long often needs a seam. Two shorter islands with an aisle between them give a route through the middle. One can hold the sink and the prep work, and the other can be all seating and serving, so the guests and the cook each have an island.