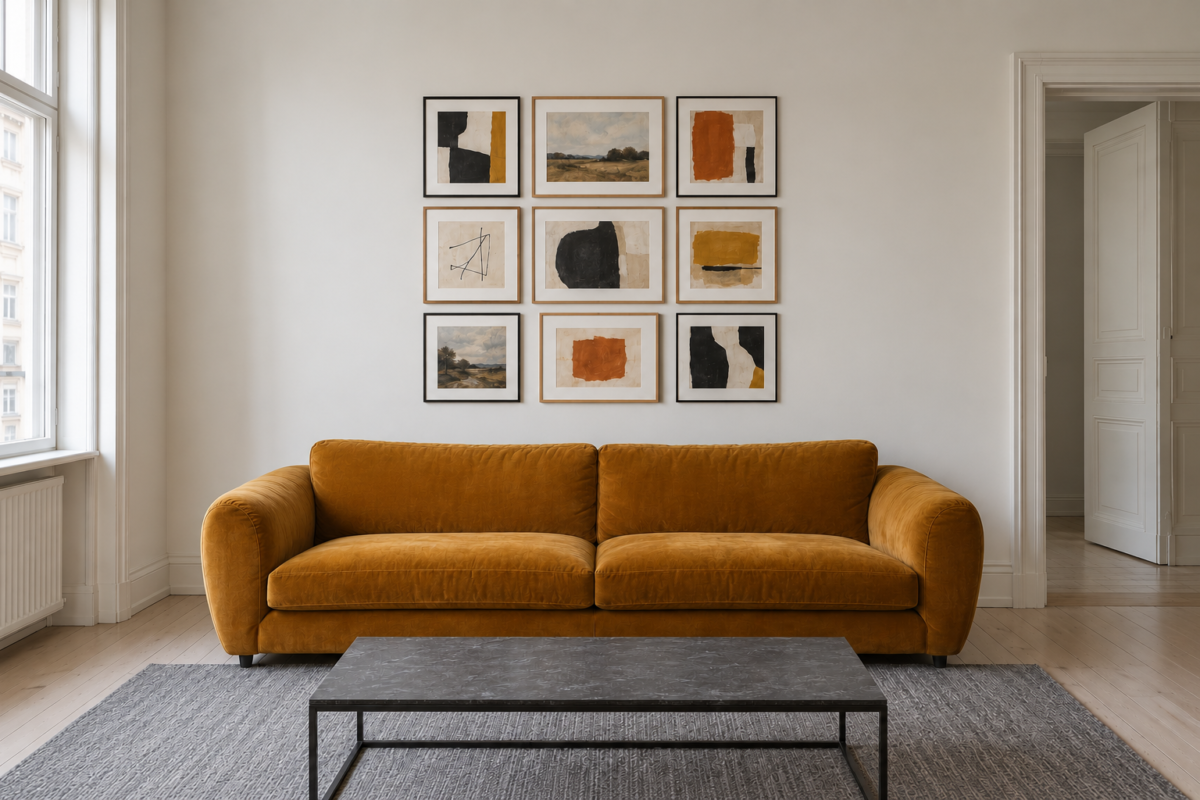
A gallery wall is several frames hung close enough together to be seen as one thing. That closeness is most of the method. Frames spaced a foot apart are separate pictures on one wall, and frames spaced 2 or 3 inches apart are a group with an outline of its own.
The planning comes down to that outline, the gap inside it, and where each nail goes. Nearly all of it can be settled on the floor and in paper, which leaves the wall with one hole per frame.
Plan the Group as One Shape
Decide the outer boundary first, as if the group were a single large picture. Its middle, top to bottom, goes at eye level, 57 to 60 inches from the floor, the same height used for one piece of art.
Over a sofa or a sideboard, the furniture sets the size. The group should span about two thirds to three quarters of the furniture’s width, and its bottom edge should sit 6 to 8 inches above the sofa back or the tabletop. On a wall with no furniture, leave a clear margin of bare wall on every side, so the group doesn’t run into a corner, a door casing, or a light switch.
Keep the Gap at 2 to 3 Inches
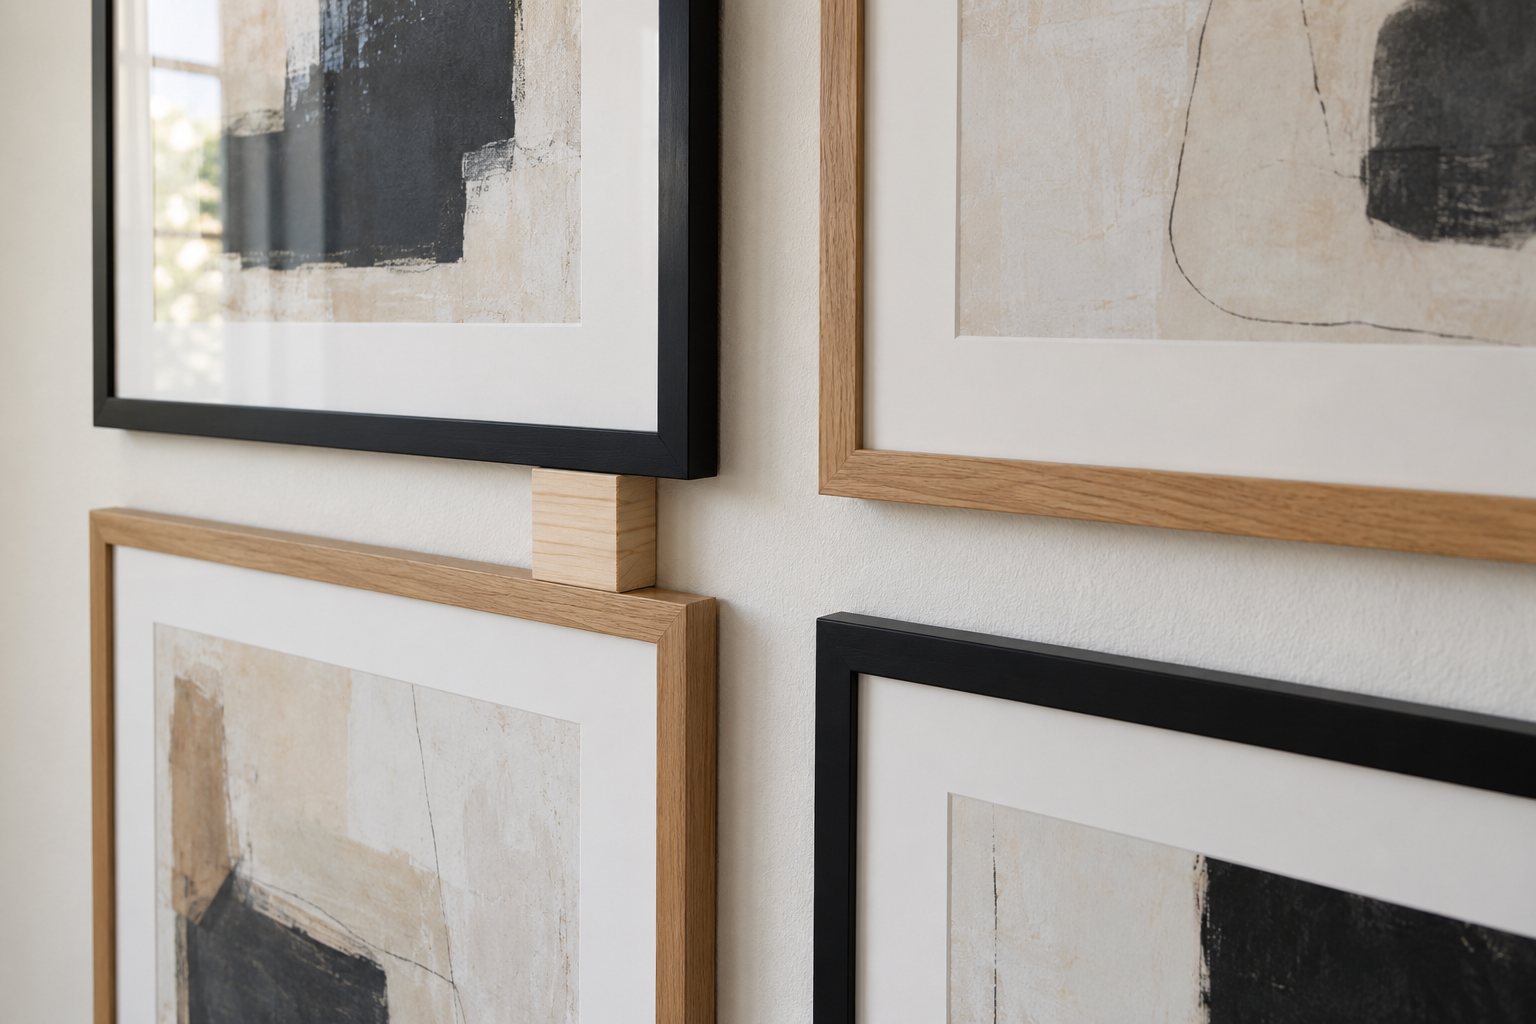
The gap is measured from the outside edge of one frame to the outside edge of the next, and it stays the same across the whole wall, side to side and top to bottom. Two to 3 inches suits most groups of medium frames.
A grid of identical frames can go tighter, 1.5 to 2 inches, because the alignment is exact and the frames are meant to be seen as a single block. Large frames, 24 inches and up, can take 3 to 4. Much beyond 4 inches, the pieces start to look like separate pictures. A scrap of wood cut to the width of the gap is quicker than a tape measure for checking each one as the frames go up.
Grid, Salon, or Row
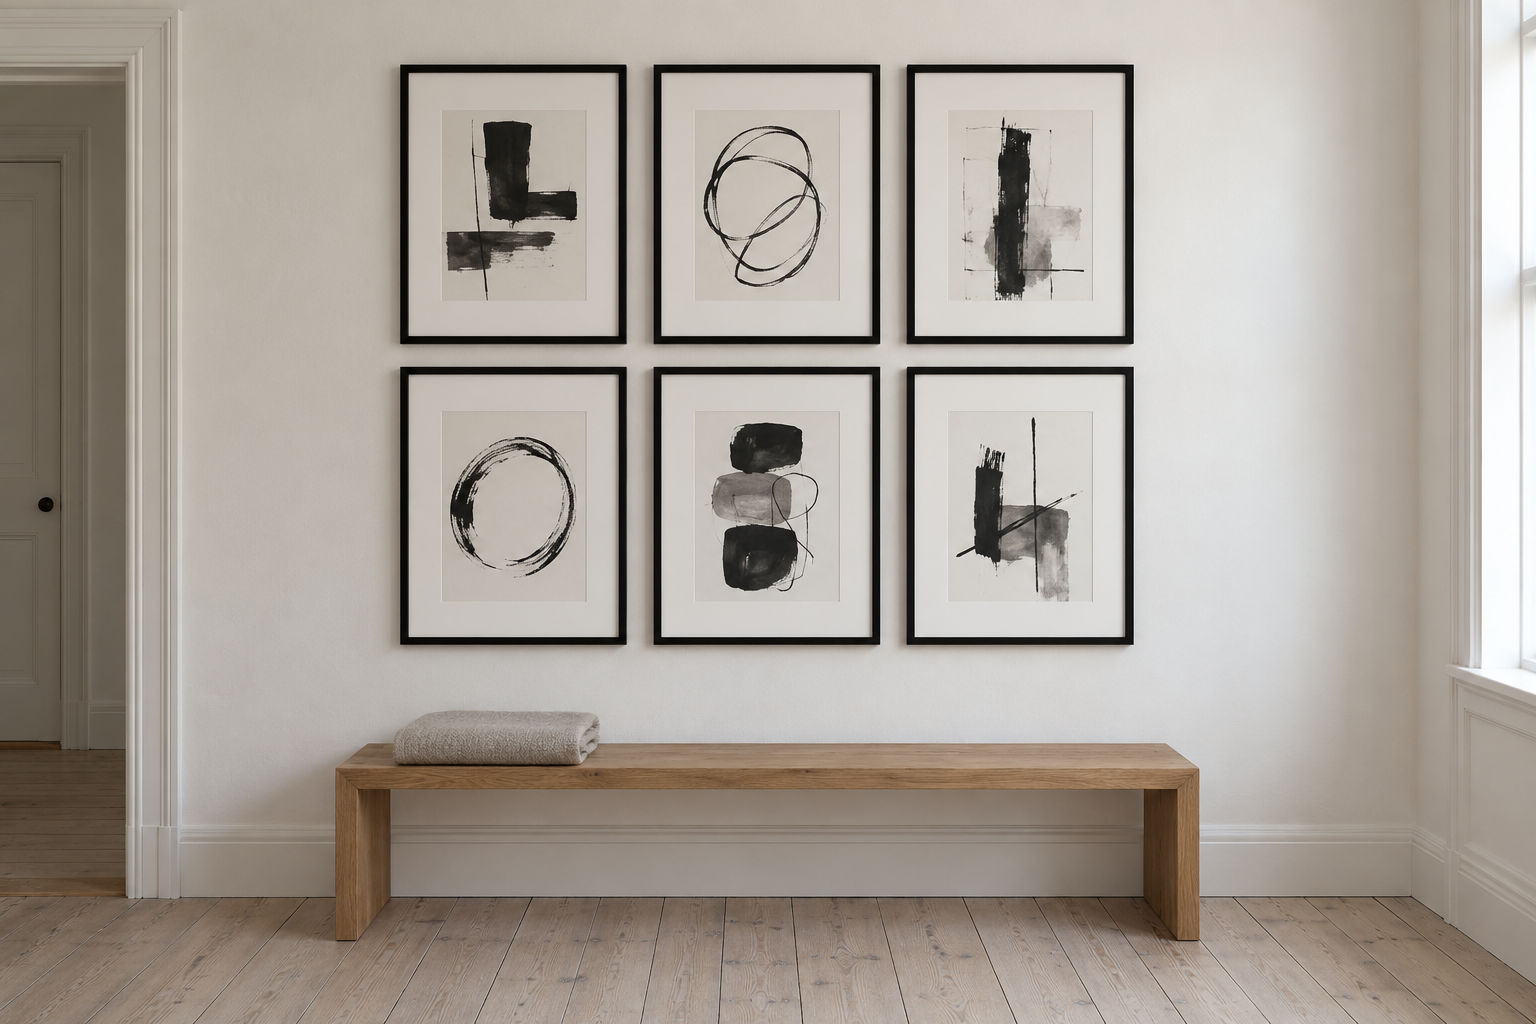
Most gallery walls follow one of three layouts, and the frames on hand usually decide which.
| Layout | Frames it needs | What lines up |
|---|---|---|
| Grid | Identical frames and mats | Every edge, in rows and columns |
| Salon | Mixed sizes and finishes | The outer boundary, and one center line through the group |
| Row | Similar heights, any widths | The centers, or the bottom edges on a picture ledge |
A grid is the most exacting to hang, since a frame a quarter inch off is visible. A salon layout hides small errors and can grow later by adding a piece at one edge.
A Worked Example Over an 84 Inch Sofa
Take an 84 inch sofa with a back 32 inches high, and six identical frames, each 16 inches wide and 20 inches tall, hung as a grid of three columns and two rows with a 2.5 inch gap.
The group is three frames and two gaps wide, 48 plus 5, or 53 inches. That’s a little under two thirds of the sofa, which is 56 inches, and close enough. It is two frames and one gap tall, 42.5 inches. With the bottom row starting 8 inches above the sofa back, at 40 inches from the floor, the top of the group is at 82.5 inches and its middle is at about 61 inches, an inch above the usual range. Dropping the gap above the sofa to 7 inches brings the middle down to about 60.
Arrange on the Floor, Largest Piece First
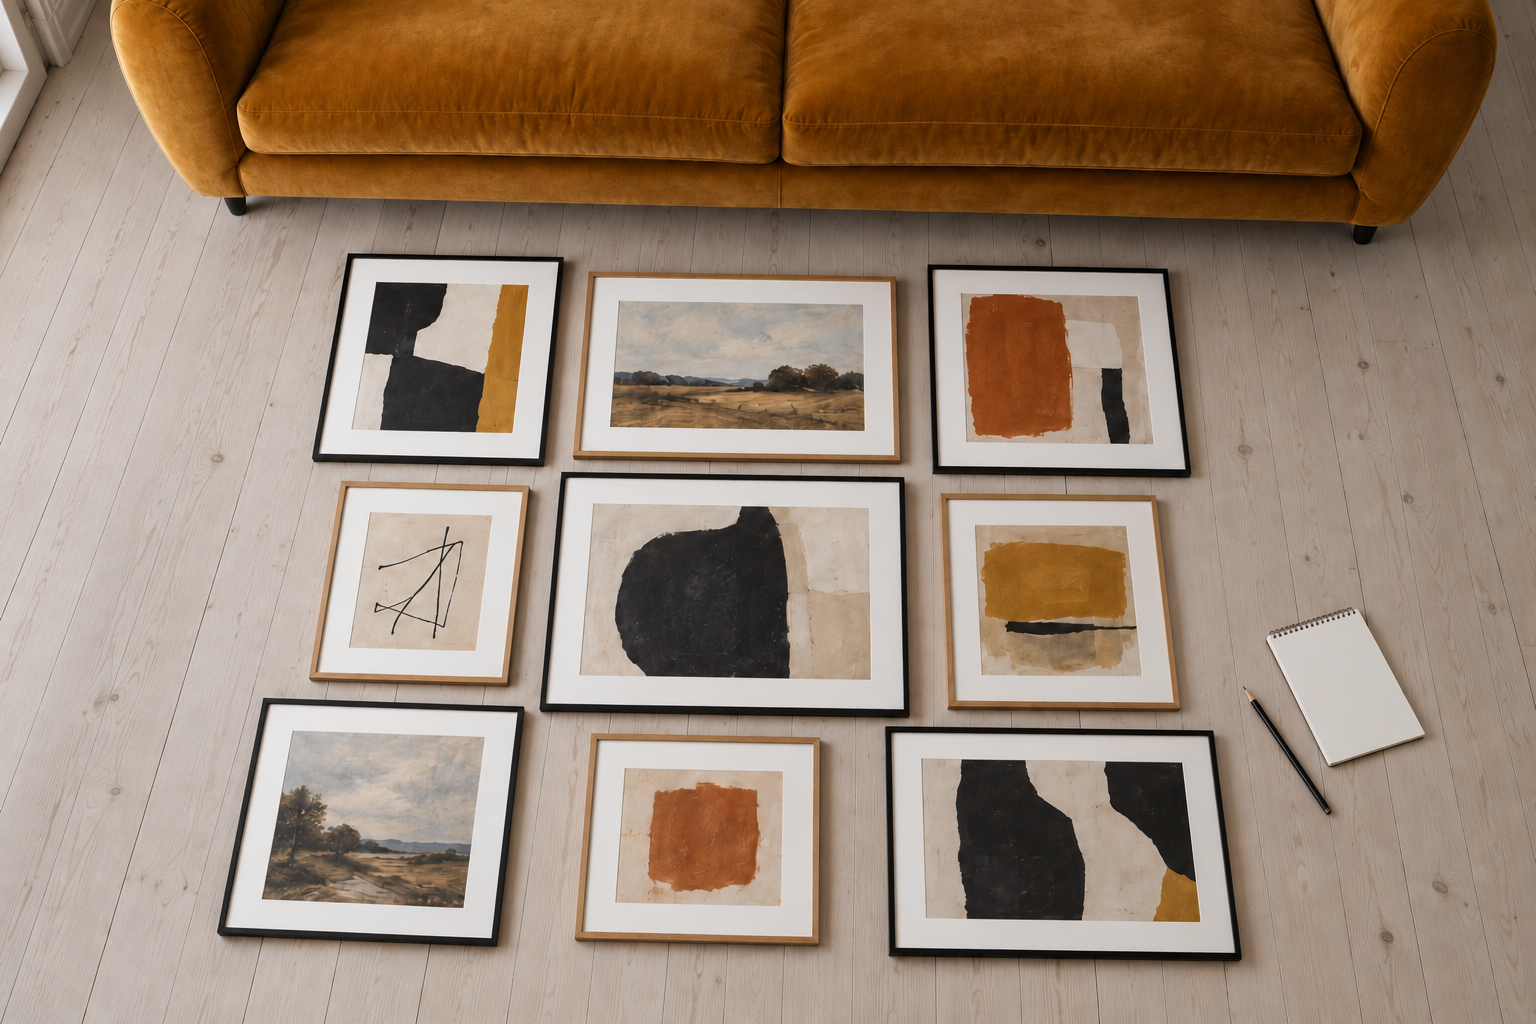
Clear a patch of floor the size of the planned boundary and mark its corners with tape. Put the largest or darkest piece down first, a little off center, and build outward from it. Large and dark frames carry more visual weight than small pale ones, so spread them across the group. Two heavy pieces side by side weight the arrangement toward that end.
In a salon layout, run one imaginary horizontal line through the middle of the group and keep roughly as much above it as below. Move pieces until the gaps are even, then take a photograph from above. The photograph is the record to hang from.
Tape Up Paper Before Hammering
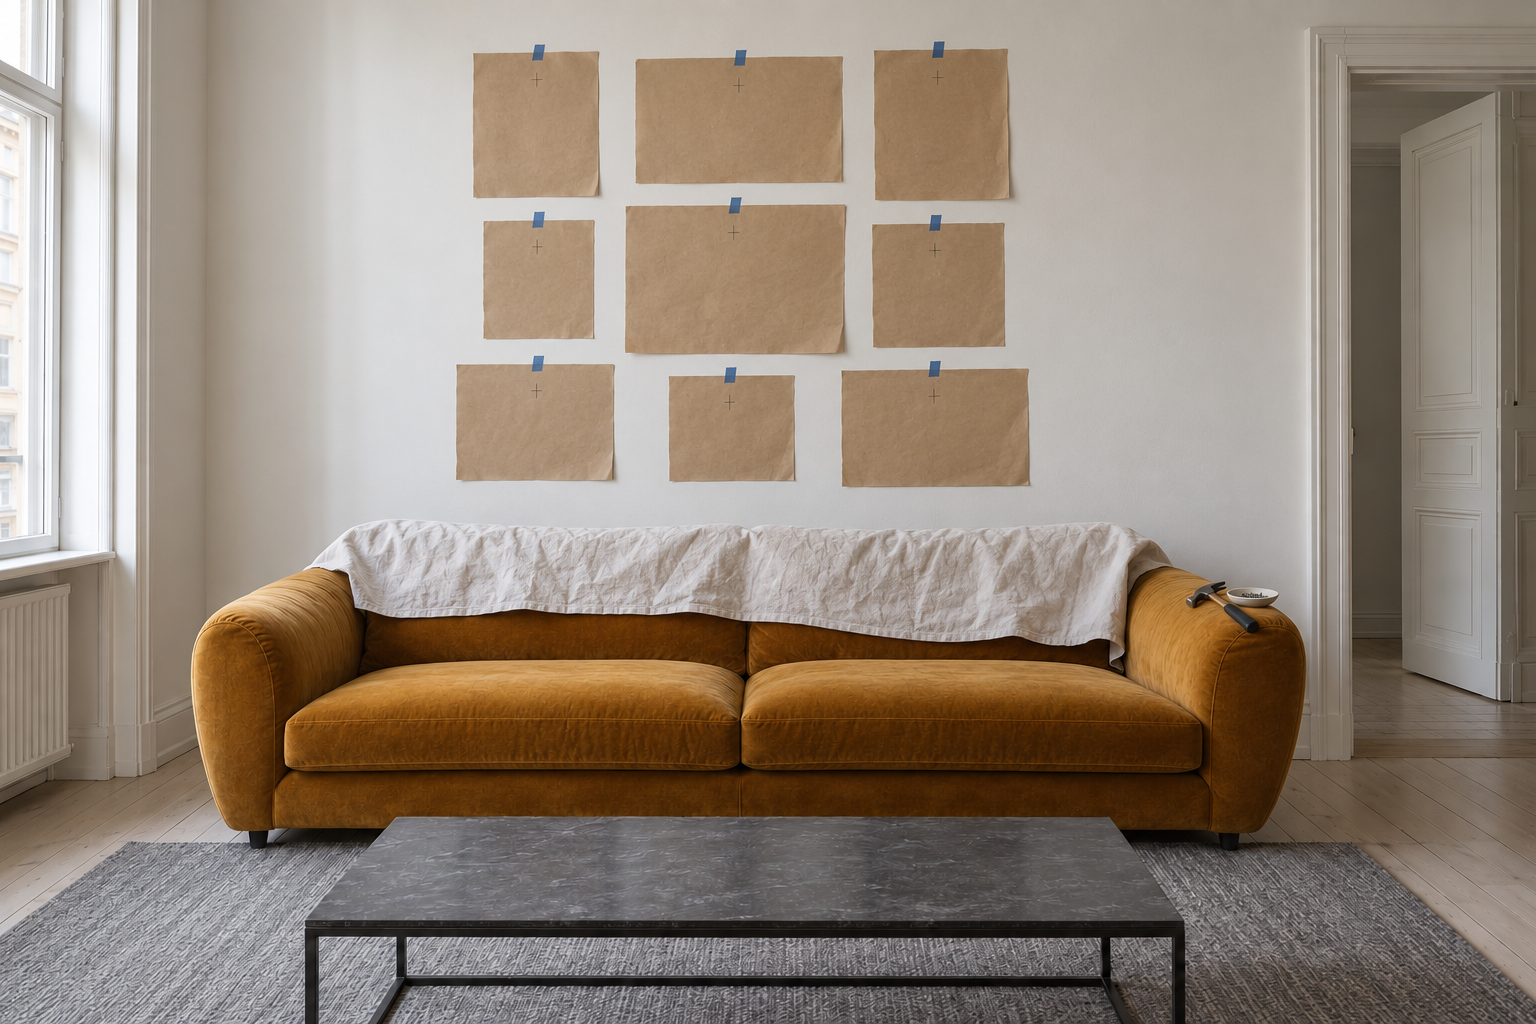
Trace each frame onto kraft paper or newspaper and cut it out. On the back of the frame, pull the hanging wire taut, or find the sawtooth hanger, and measure from that point up to the top edge of the frame. Mark the same distance down from the top of the paper. That mark is where the nail goes.
Tape the papers to the wall in the arrangement from the photograph, using the spacer for the gaps and a level for the rows. Step back to the far side of the room, and sit down if the wall is over a sofa. Adjust the papers until it looks right from there, then drive each nail through its mark and tear the paper away.
On a Staircase, Follow the Slope
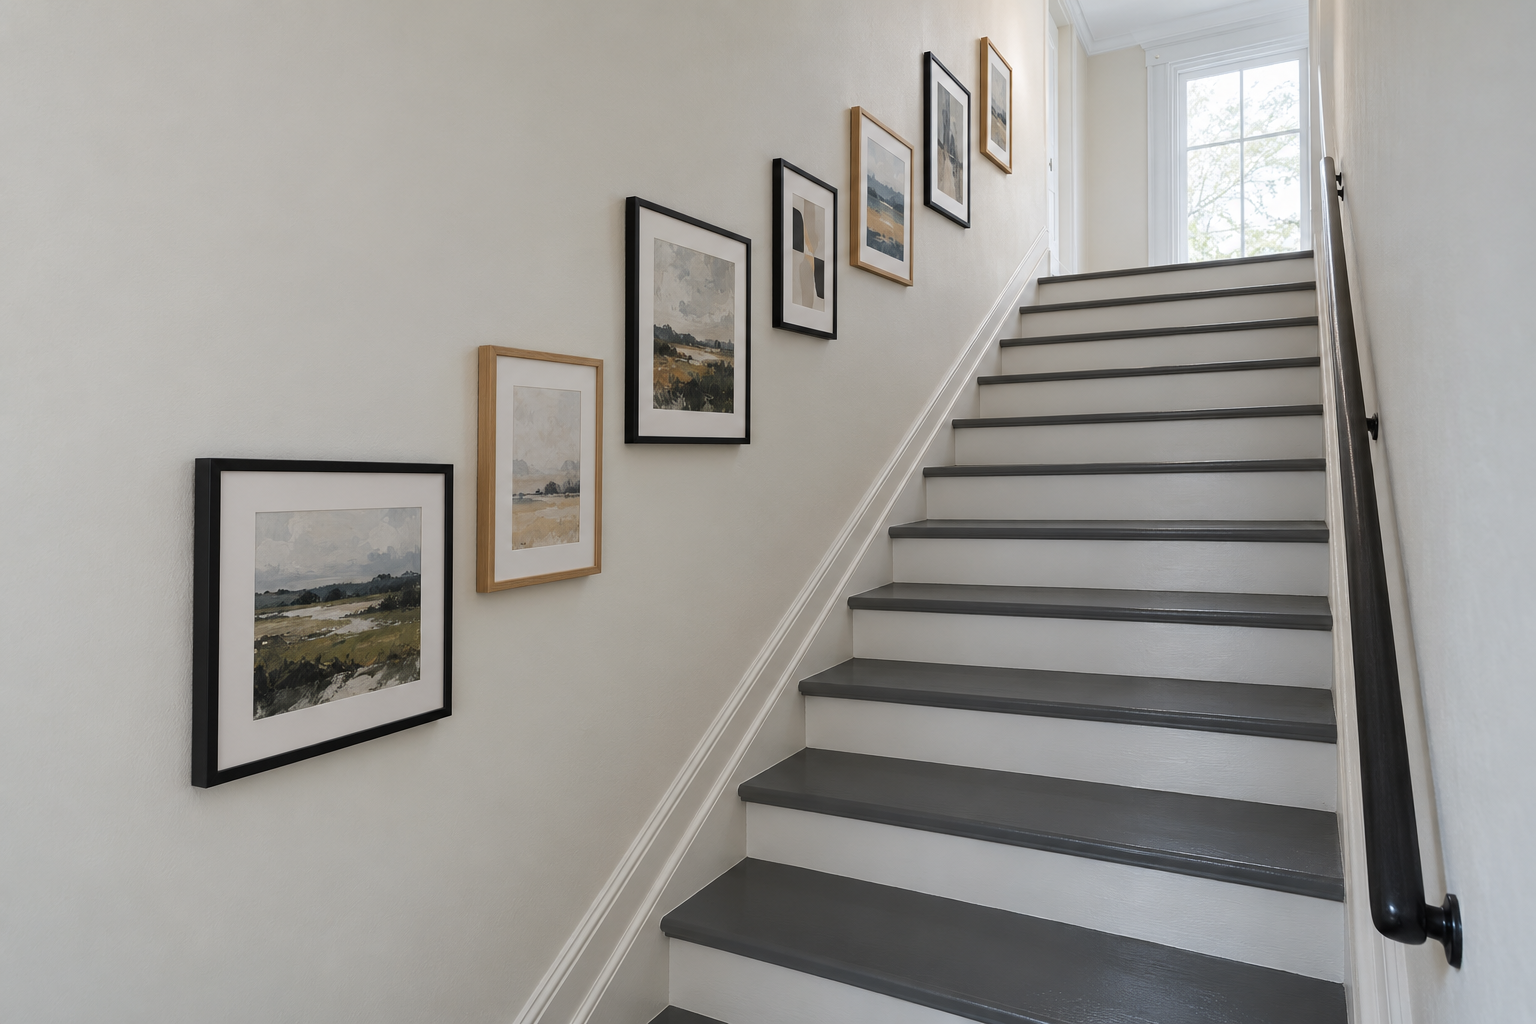
A stair wall has no single eye level, because the viewer climbs. Measure 57 inches straight up from the front edge of a tread near the bottom and again from one near the top, and join the two points with a line of tape. That line rises at the angle of the stairs, and the middle of the group follows it. Frames sit above and below the line as they would around a level one, and each frame stays square to the floor.