
An artificial tree is packed with every branch folded up against the pole and every tip pressed flat, and it comes out of storage looking narrow and thin. Fluffing is the work of opening it back up, one branch at a time, until the tree has its full width and the trunk no longer shows through.
It takes longer than putting the tree together, often most of an hour for a full-size tree, and the order matters more than any trick with the tips. Shape each section before the next one goes on, and start every branch nearest the trunk, so that nothing already finished has to be reached through or pushed aside later.
Lower the Branches and Let the Tree Warm Up
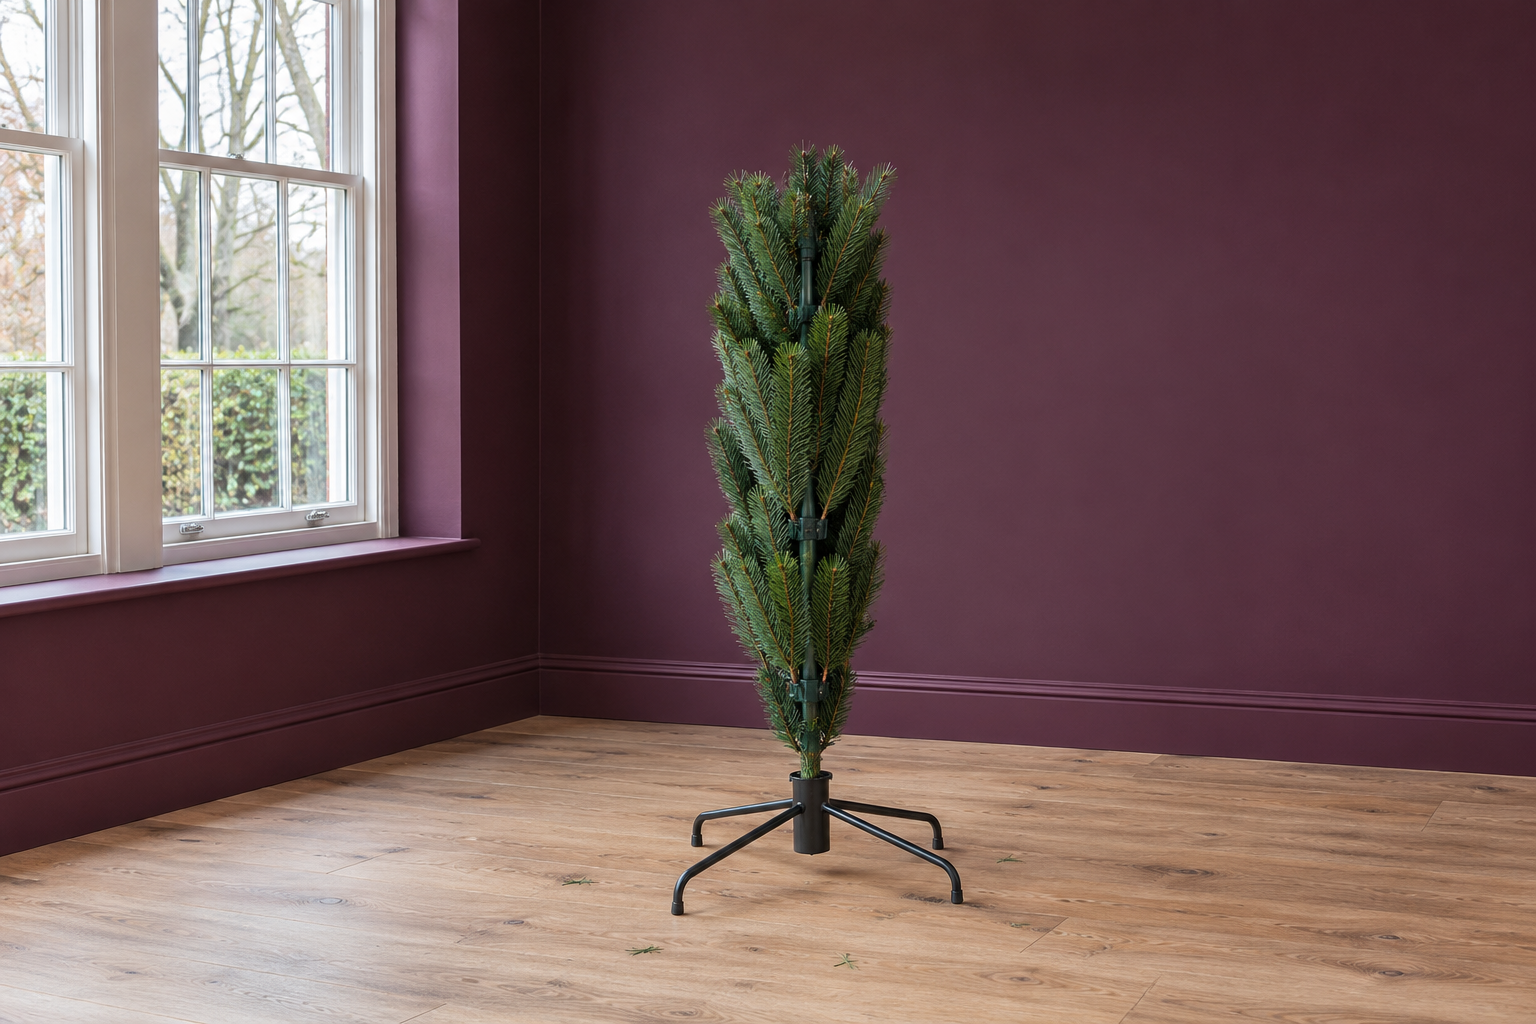
Most artificial trees have hinged branches that fold up against the pole for storage. Set the bottom section in the stand and pull each branch down until it stops at its hinge, all the way around. On a tree with hook-on branches, sort them by length before starting, since each tier takes one size, often marked with a colored tip on the end of the stem.
A tree carried in from a cold garage or attic is stiffer than one at room temperature, and its tips take a shape less easily. Bringing the sections into the room an hour before starting makes the wire easier to bend. Thin gardening gloves keep the cut ends of the needles from scratching the backs of the hands over an hour of work.
Shape One Section Before Adding the Next
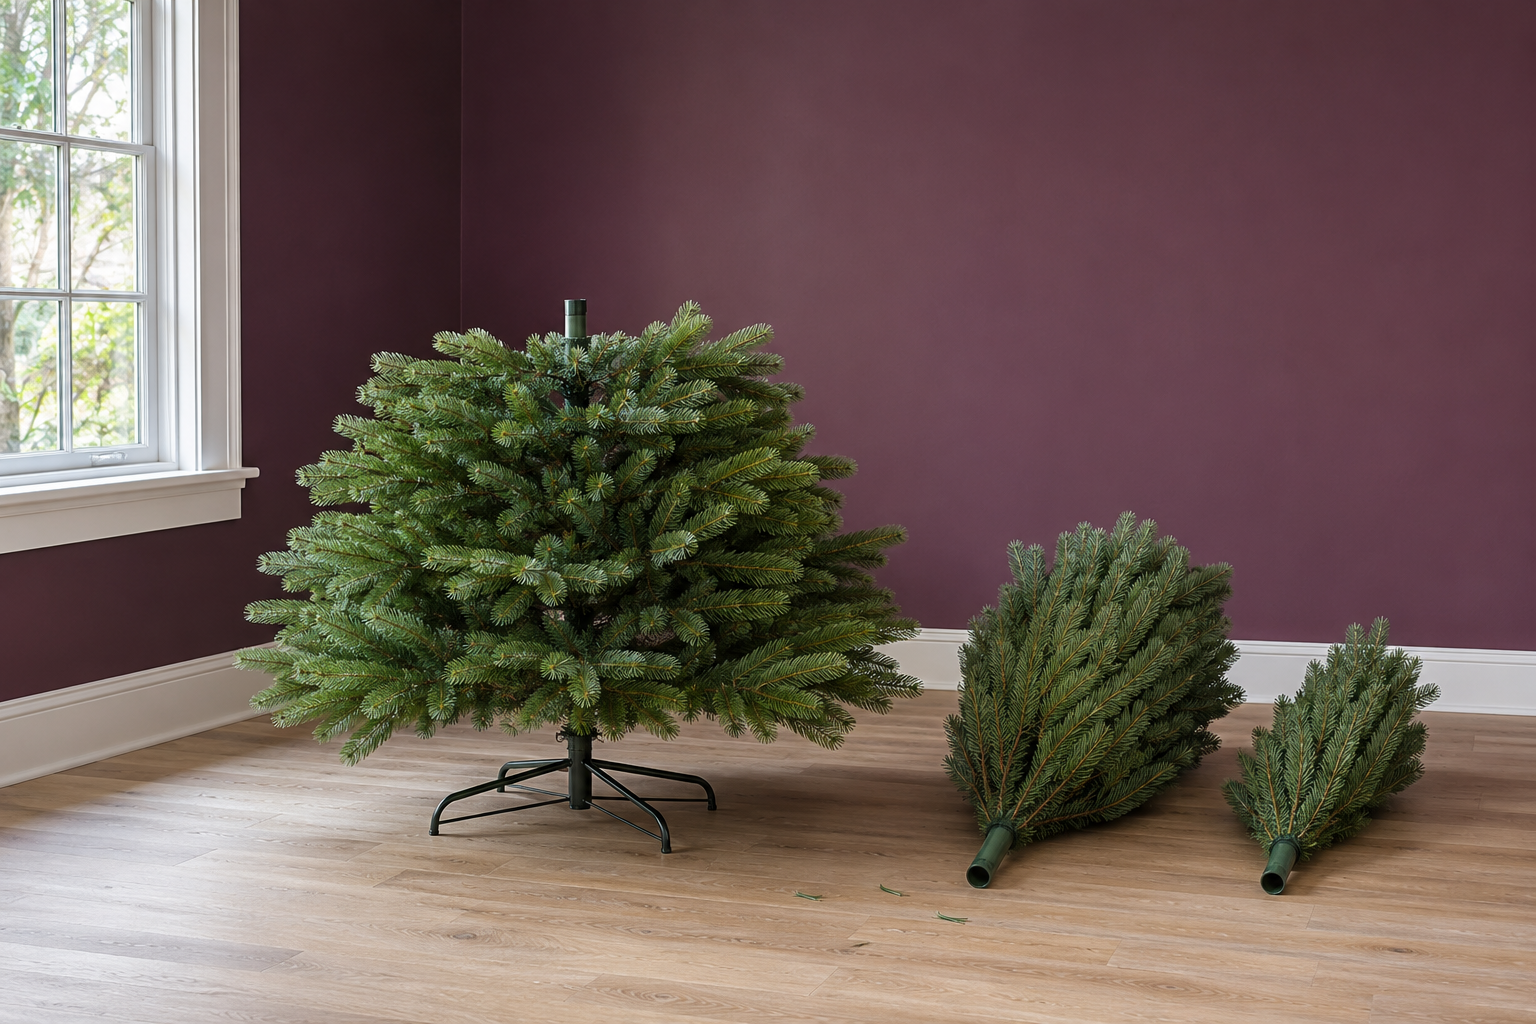
Fluff the bottom section completely, then add the middle section and fluff it, then the top. Once the upper sections are in place, the inner branches of the lower ones sit behind a wall of finished tips, and reaching them means flattening work that is already done. Starting at the bottom also puts the widest tier first, while there is still room to walk around it.
On a pre-lit tree, plug in each section as it goes on and check that every string lights before shaping it. A section with a dead string is far easier to deal with before its branches are spread and the ornaments are hung.
Start at the Trunk and Work Out
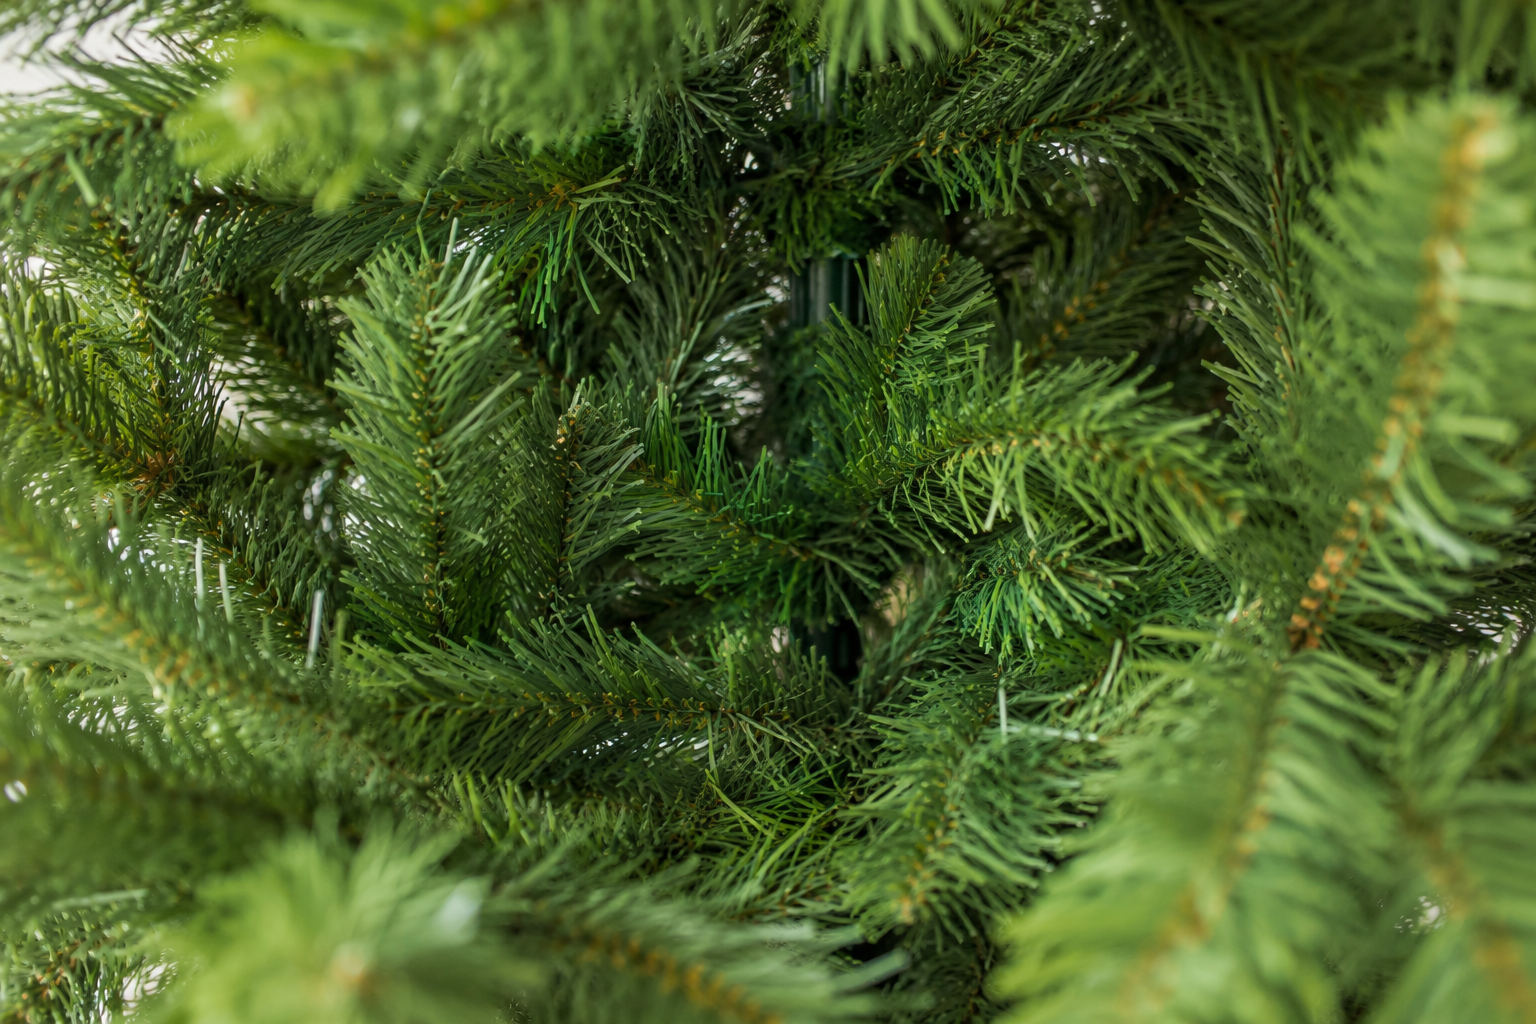
Each branch carries short side tips along its whole length, and the ones nearest the trunk are the ones most often skipped, because they are hard to see. Start there. Pull those inner tips out from the stem, then work along the branch to its end, so the tree fills from the inside and the pole doesn’t show through gaps between branches.
Finish every branch in a tier before moving up to the next tier. On a 7 foot tree that is a great many branches, and going tier by tier, all the way around, makes it easy to see which ones are done.
Spread the Tips Up, Level, and Down
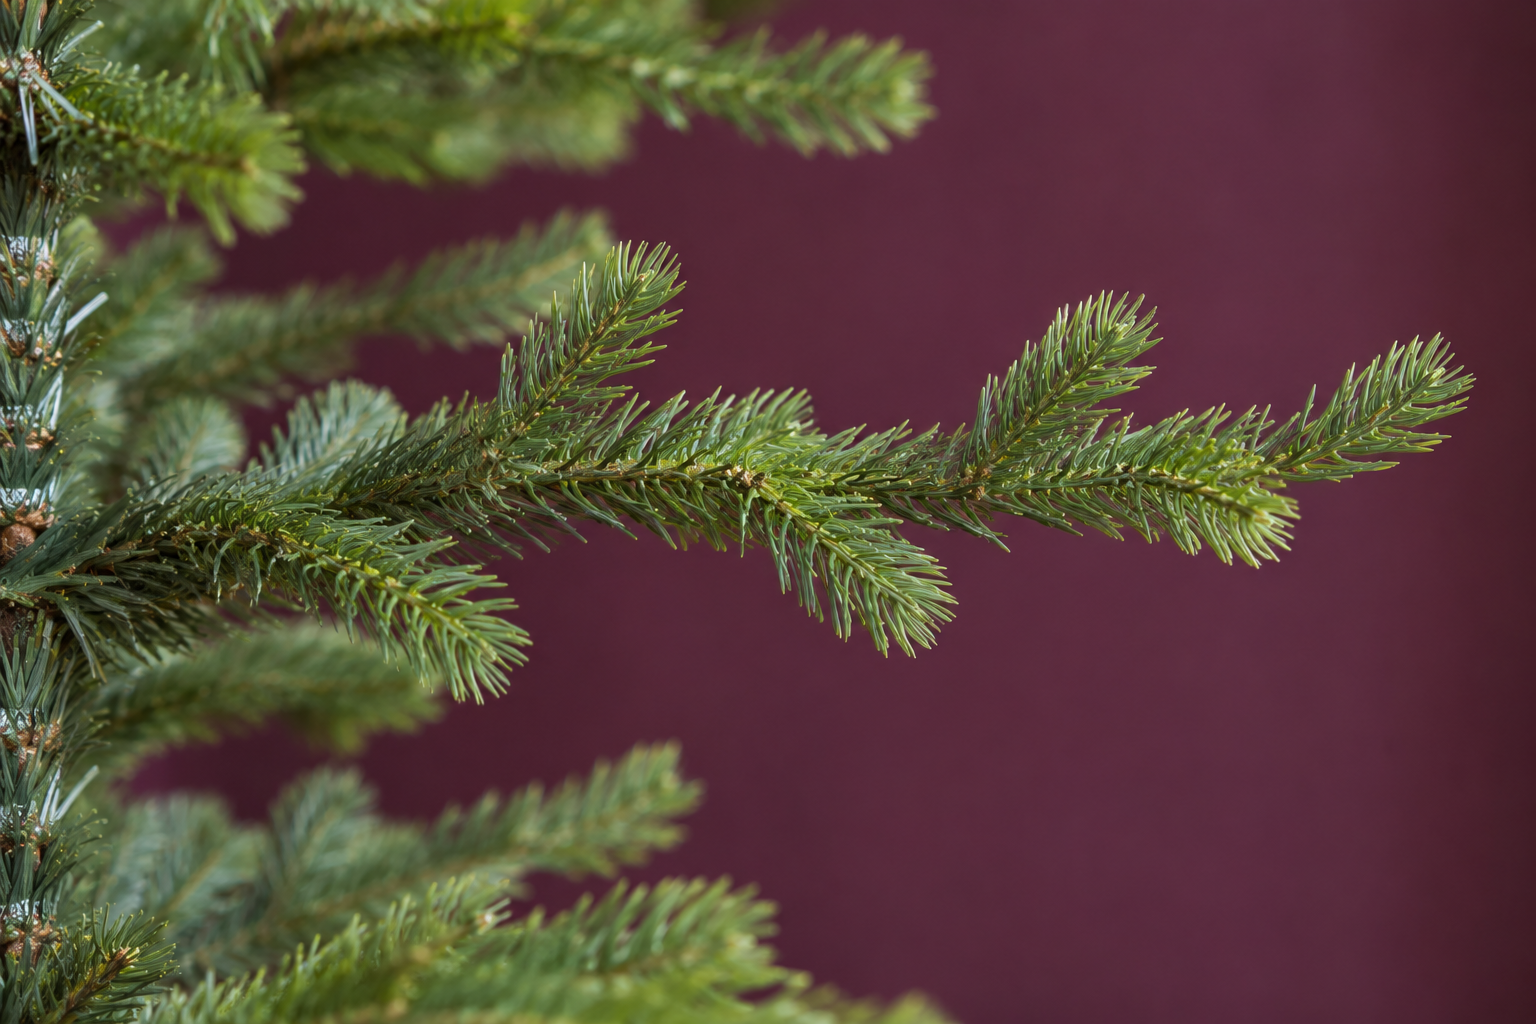
Bent all in the same direction, the tips on a branch make it look like a flat paddle. Spread them in three directions instead: one up, one straight out, one down, and repeat along the branch, with the tip at the very end pointing straight out or curving slightly upward. The branch then has depth from every angle, and the gaps between it and its neighbors close.
Trees with molded tips, cast to look like individual needles, keep a shape with less bending than trees with flat cut needles, but their wire stems still need spreading. On a pre-lit tree, bend each tip at its own stem and leave the light wire where it is clipped, since pulling the wire drags the bulbs out of line.
Step Back and Look for Gaps
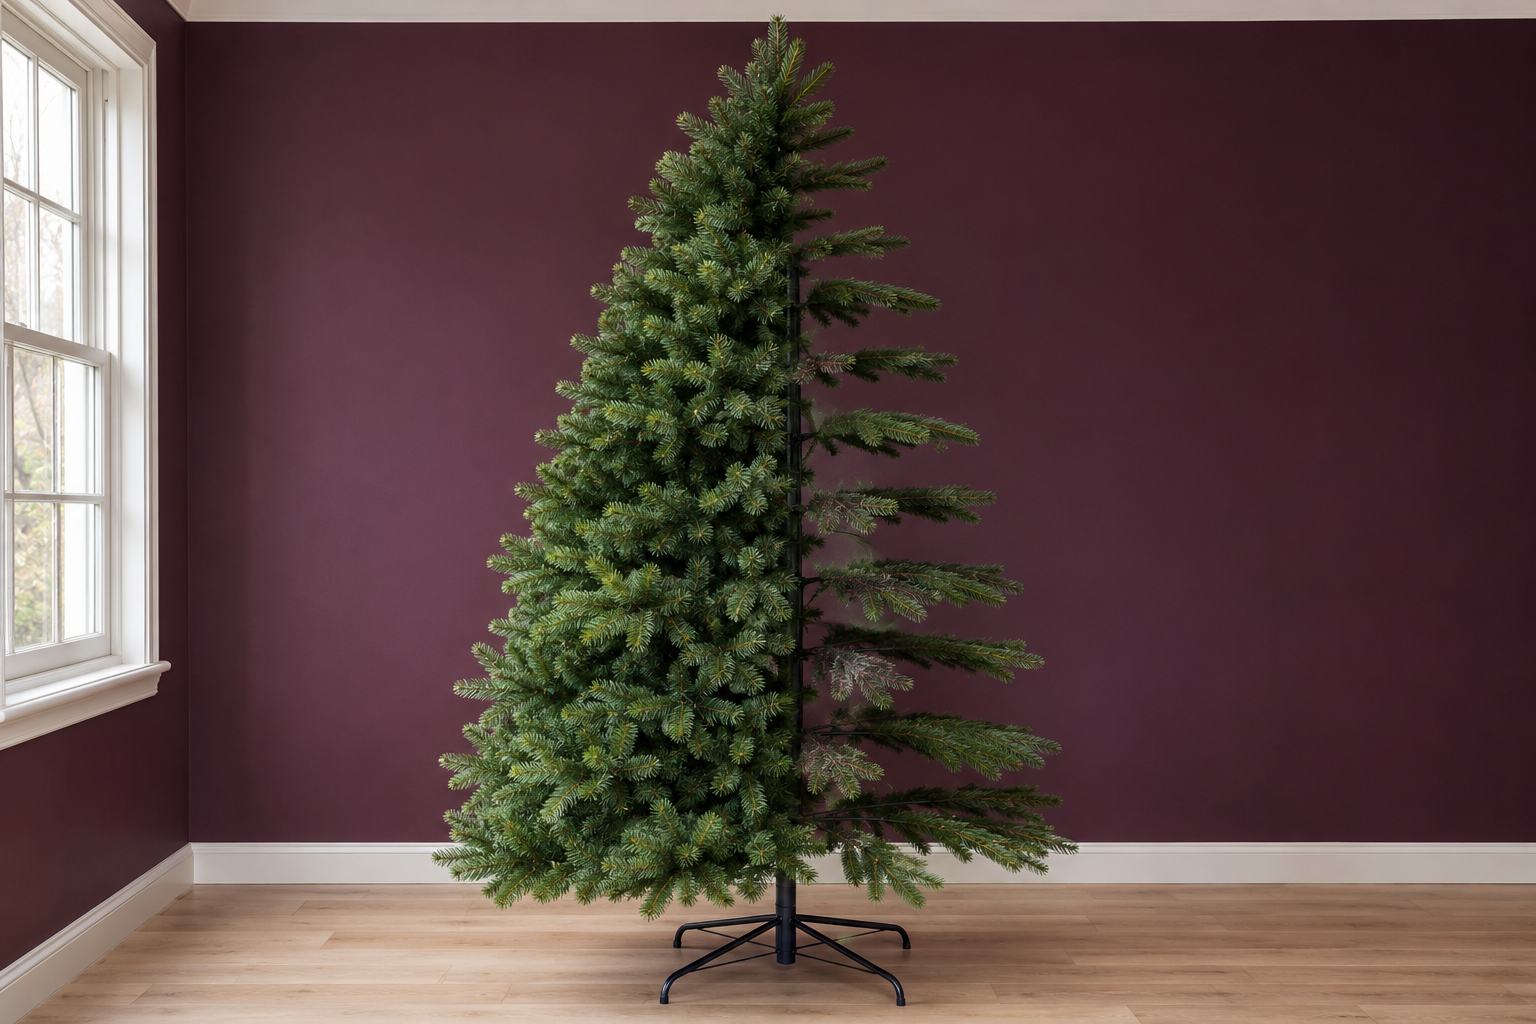
After each section, stand across the room and look at the tree from where it will be seen most, usually the sofa or the doorway. Gaps that can’t be seen at arm’s length show from there, and so does a tier that is wider on one side than the other. Half closing your eyes blurs the detail and leaves only the dark holes.
A gap is usually a branch still angled up or a set of tips still pressed together. Pull the nearest branch down a little, or spread the tips of the branches above and below into the space. The back of a tree that stands against a wall needs less time than the front, and in a corner, a quarter of the tree is hardly seen at all.
Folding It Away in January
How the tree goes back into storage affects how much work it takes next year. Fold the tips in toward each branch’s stem before raising the branch, rather than pushing the whole branch up with its tips still spread, which crushes them flat against the pole. A storage bag sized for the tree holds the sections without forcing them, where the original box often only closes under pressure.